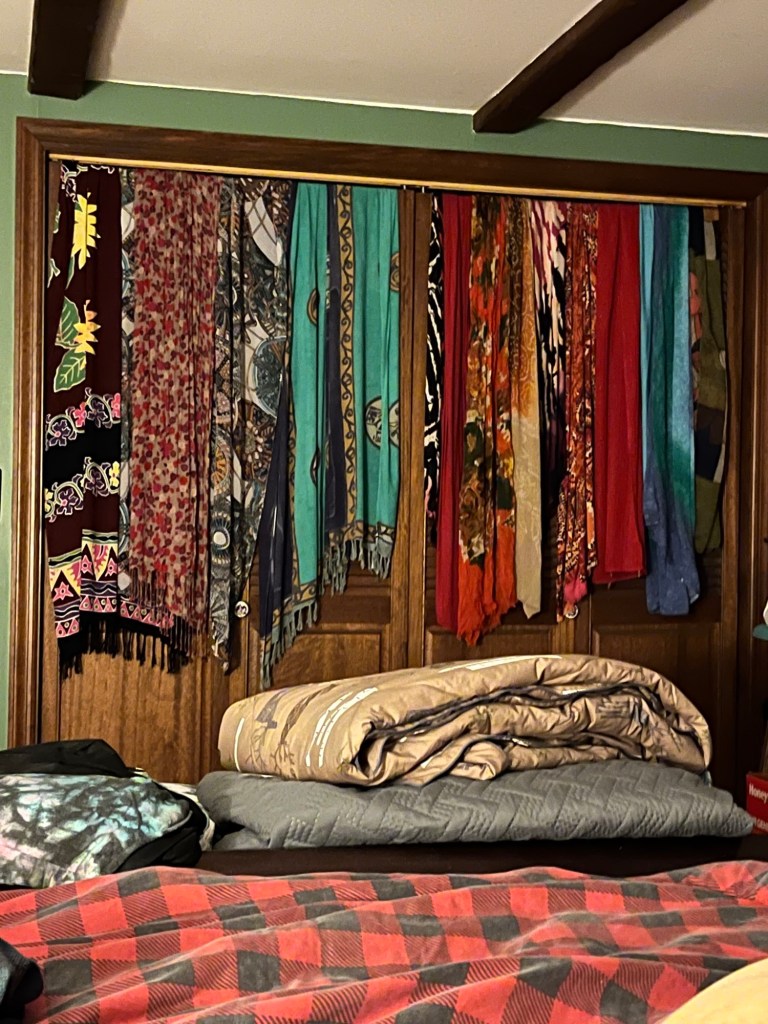
I discovered a unique way to display and store my various scarves. I have double bifold closet doors. I simply lay the scarves over the top. Keep in mind, these are thin scarves, so they don’t interfere with the sliding mechanism on top. Also, one of the panels lost a bunch of the slats when one of the doors fell apart. When we glued the door back together, I couldn’t get the slats back in. So, the scarves also serve to conceal that hole. It creates a pretty landscape on my closet doors.
I have been taking pictures of all kinds of things for years. People have asked why I take so many pictures of inanimate objects. Different things have always caught my eye. And, with easy access to a camera within my cell phone, I have plenty of access and opportunity.
So, I decided to make my own note cards using these printed out pictures.
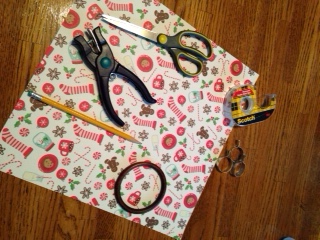
Supplies: White card stock 8.5 by 11 White Invitation Envelopes Double sided tape Mechanical pencil Rolling Pin Large sharp scissors Napkins Unique pictures 4×6 glossy finish
Step One- Develop your template for the card. I used regular paper initially to get just the right size for the card folded to fit into the invitation envelope. Then make the template on the card stock.
Step Two- Using a mechanical pencil (gets very close to edge), trace each card using the template. You can get 2 cards for each 8.5 by 11 card stock sheet if you orient the paper landscape and trace template portrait side by side. ( I initially did it the other way and only got one card out of each 8 1/2 x 11).
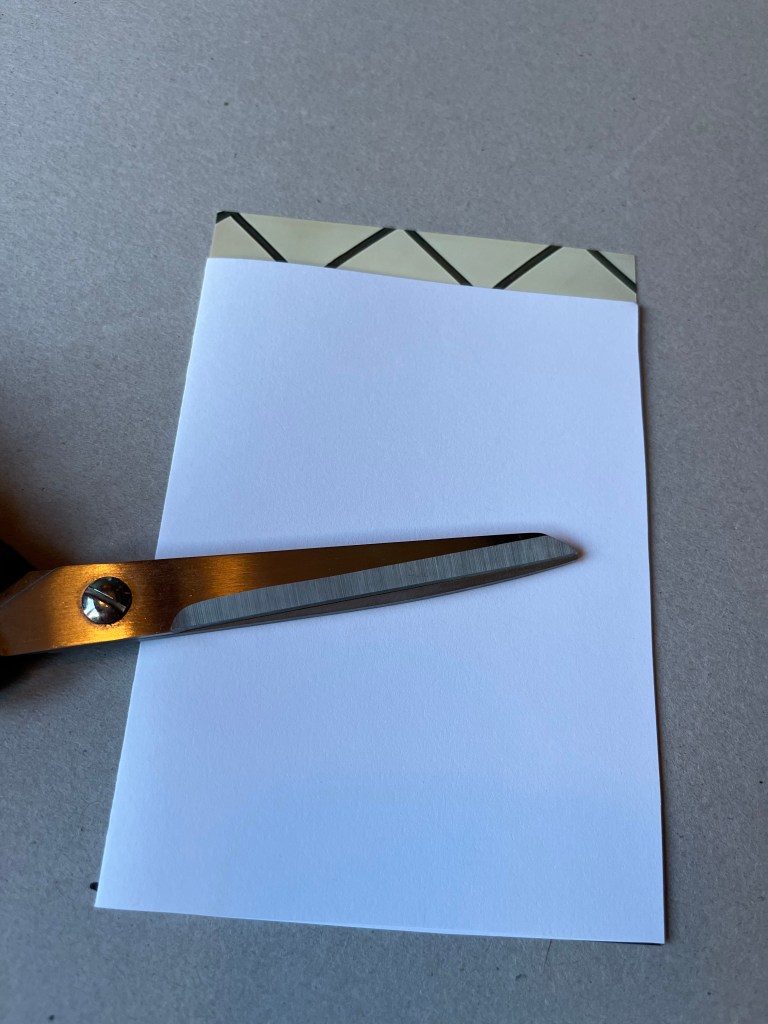
Step Three- Carefully cut on the pencil lines. I use a big pair of scissors and do long cuts versus multiple little cuts. The long cuts with sharp scissors create a straight edge.
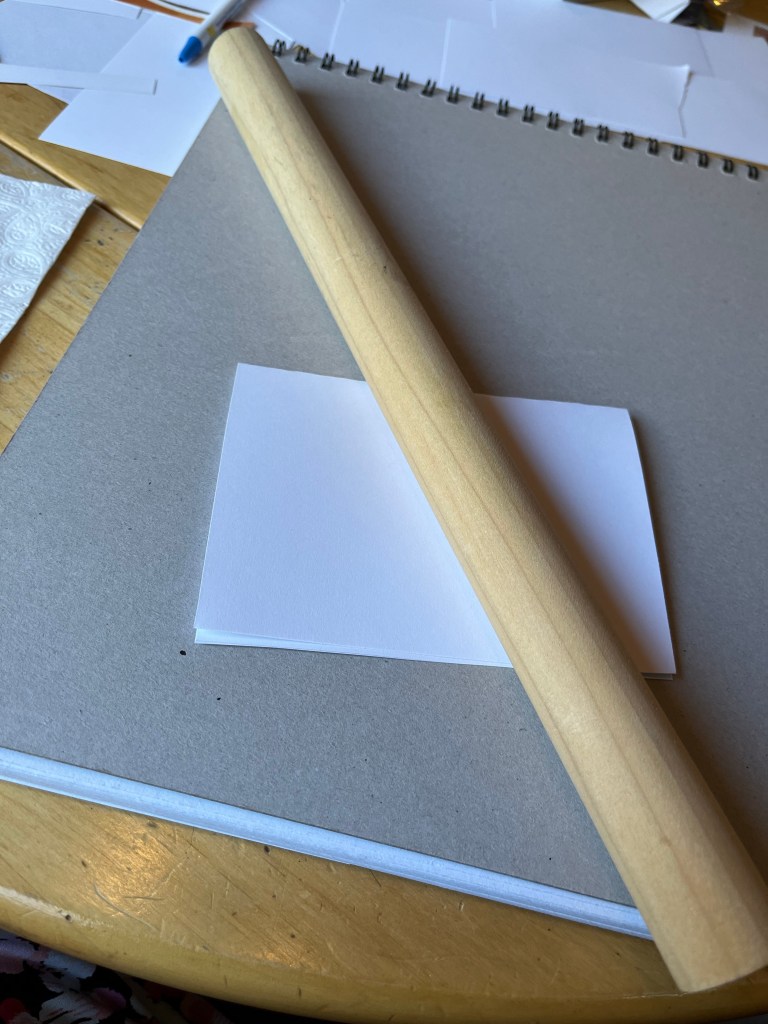
Step Four- Crease the card in the center. I use a rolling pin to to slide across the fold, both back and front, to create a crisp crease.
Step Five- Chose your picture. My 4×6 pictures are just a little to big for the front of the card. So, I need to cut off about 1/2 inch from the short edge of the picture. I use the folded note card against the picture to see which side is best to cut off. I cut off only one side of the picture as opposed to doing two smaller cuts from each side just to keep the picture as straight as possible. I use the folded card against the back of the picture and use mechanical pencil (gets close to the edge) to draw the line of where to cut off. Then use large sharp scissors to cut on the pencil line on the back of the picture.
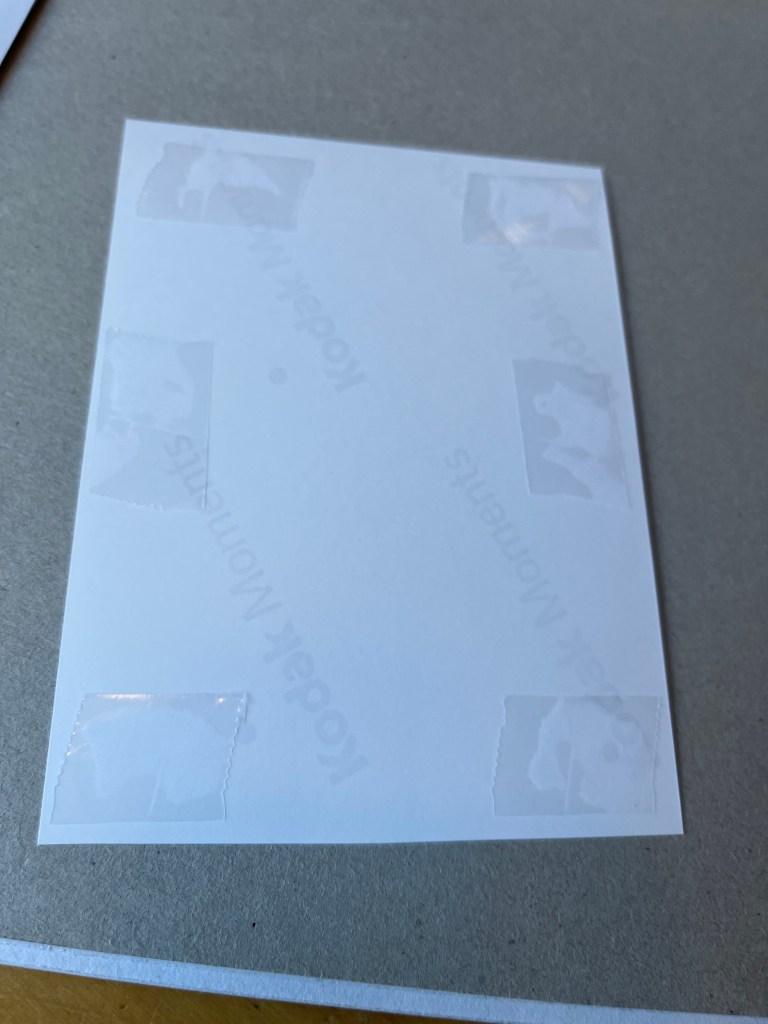
Step 6- Use double sided tape on the back of the picture. I use six pieces placed on the outside edge but not right up against the outside edge. Because the picture is the exact same size of the front of the card, I don’t want any sticky residue from the double-sided tape creeping outside of the back.
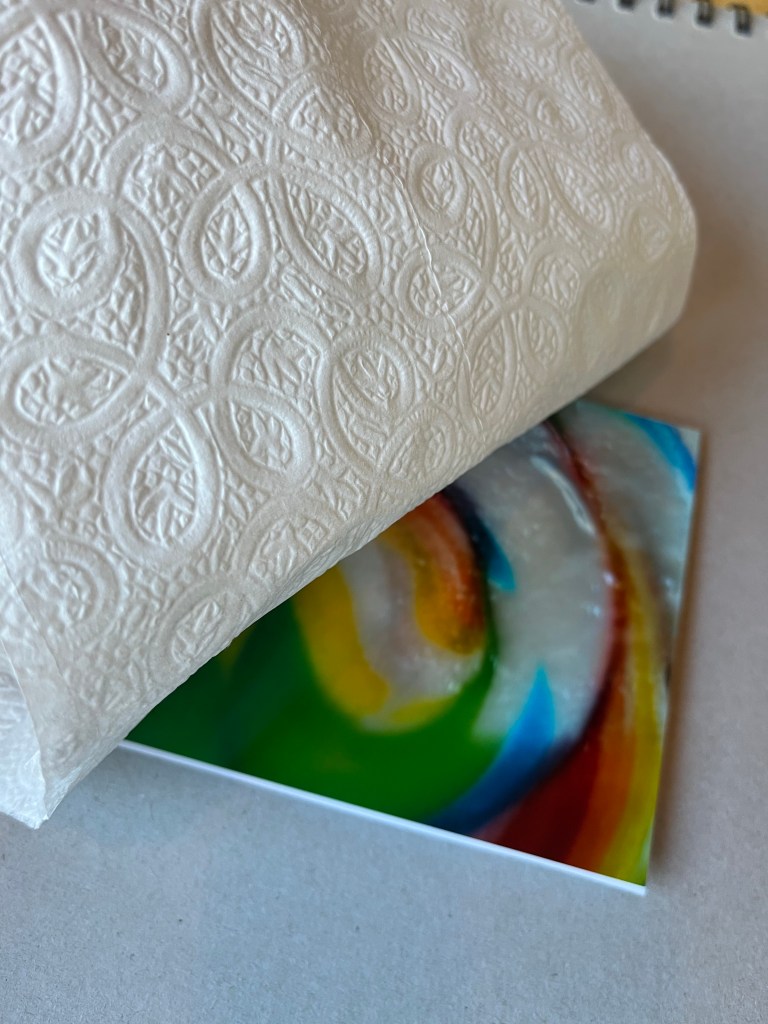
Carefully line up the picture with the front of the card. This can be tricky, because you kind of have to hover the picture above the card until it is perfectly lined up, and then drop the picture down on the front of the card. Once it’s down it can’t come back up. I push the picture down with a napkin over it to keep my fingerprints off the glossy finish. Then I use the rolling pin over the napkin to ensure the picture is pressed firmly to the card.
I love how these cards turned out.
I often enjoy looking at my collection of pictures in my phone, and now I have another creative use for them. I send them out. I also packaged them (four cards and four invitation envelopes to a package). I cut the top off a ziplock bag and this creates a perfect sized package for them. I use a name label to seal the package closed. This label allows the package to be resealed.
So, this project is a very simple one and only cost $1.49. I found deeply discounted Christmas cards almost a month after Christmas at CVS.
These beautiful Hallmark cards originally sold at $14.99 and were now 90% off. Yep. That’s $1.49 for 40 cards and 40 envelopes. I took two different boxes to play with.
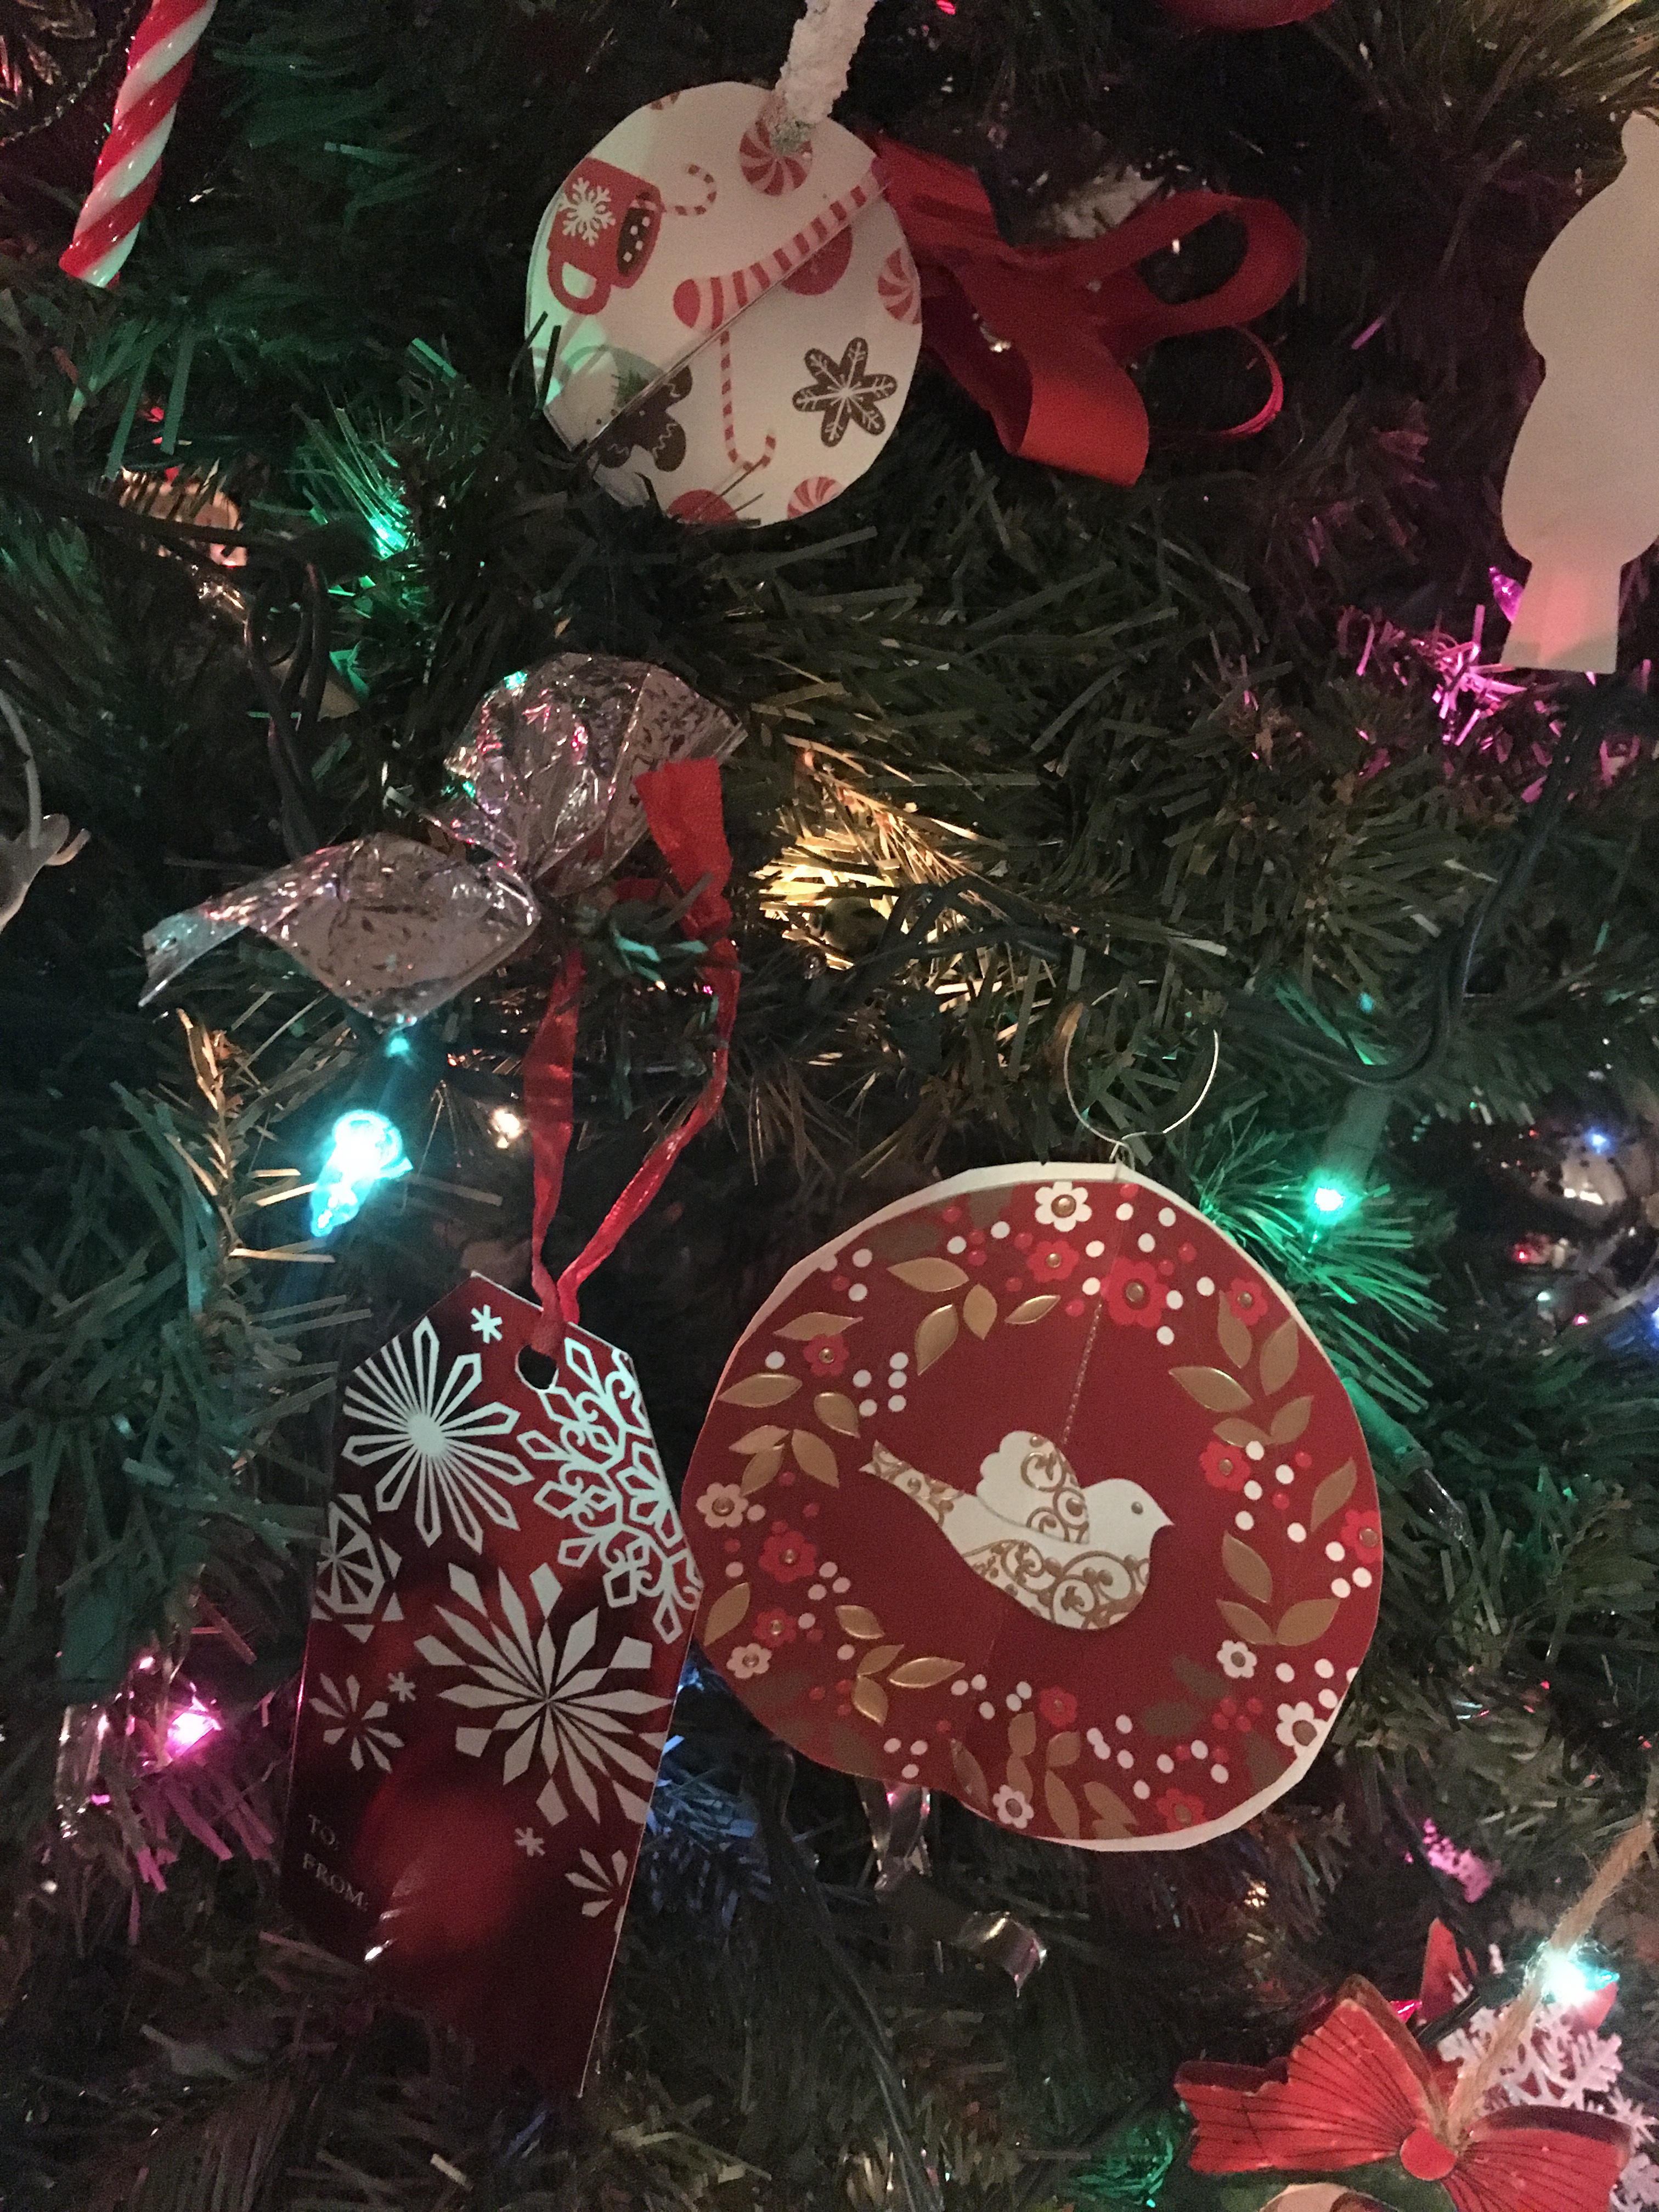
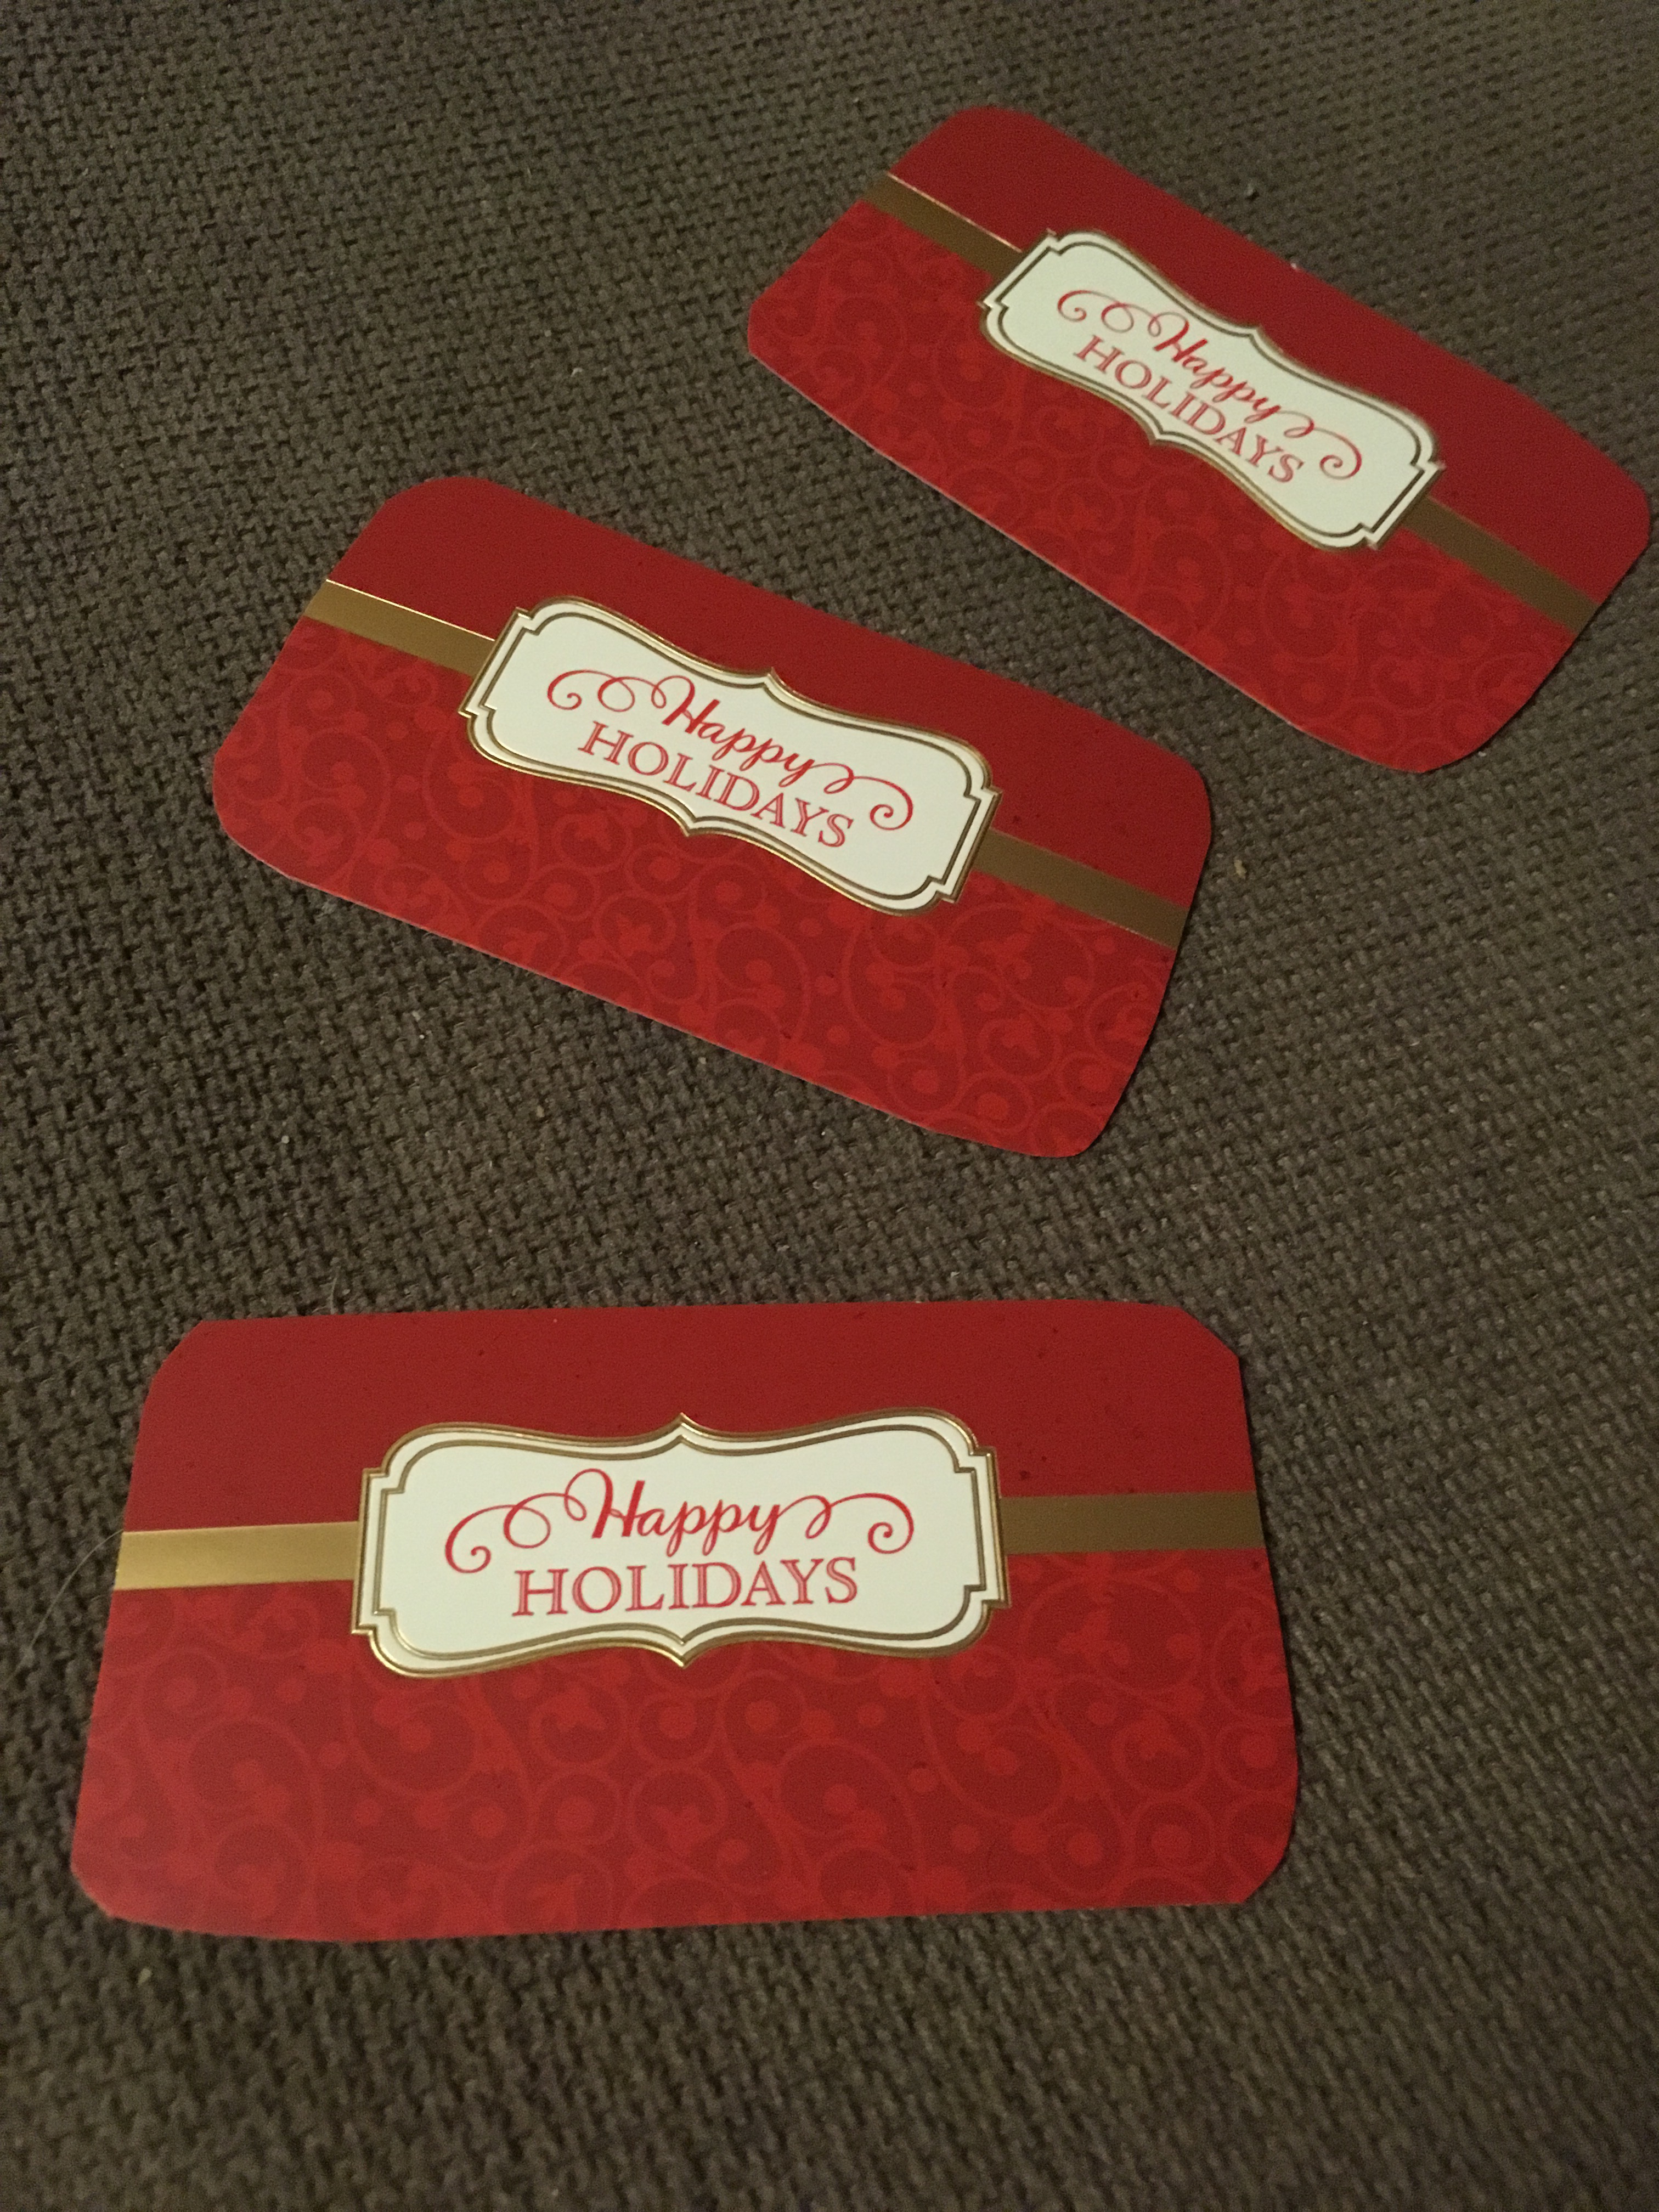
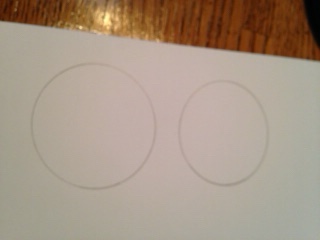
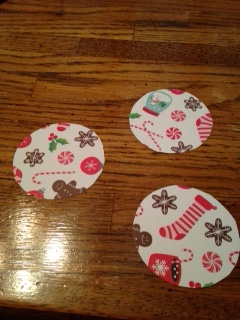
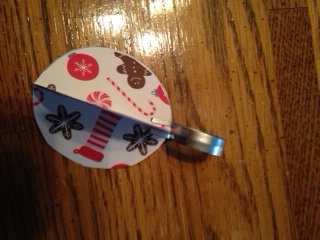
The first one has red as its main color. The decoration on the front is already naturally round. This is perfect for a paper ball ornament. Cut three or five identical circles (I recommend using something to trace them with- a small saucer, a cup rim). Next, fold each circle up-and-down, picture in. Then, adhere to each other. I use double-sided tape as it sticks very well immediately. I used a cafe rod clip as the hook. You can also hole punch an opening in the top and use a traditional ornament hook. Also, you can thread pretty thread through the middle folded in half to create a tassel on the bottom and a loop for hanging on the top. Be sure to thread the string in before taping the circles together.
This card has a “Happy Holidays” message on the bottom that I cut into gift tags.
Two different crafts for each card. Plus 40 envelopes. Quite a deal.
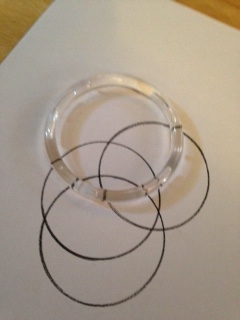
These cards are made by drawing overlapping circles and coloring in the shapes made by the overlapping circles.
Step one: use an 8 x 11 sheet of cardboard stock white paper. I have found that regular white paper is a little bit too thin.
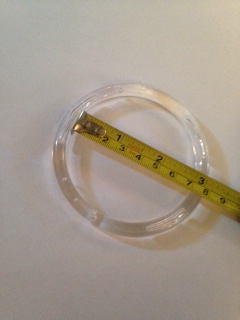
Step two: Find the tool that you will use to make the circles with. I actually use a clear plastic ring, the kind that they sell scarves on. It is 3 inches in diameter. It isn’t too thick or too thin, allowing me to hold it sturdily while I trace the circle on the inside. I imagine some of the plastic and wood and bracelets that I have much like this would work well, too. It is also important to make sure that the inside where the pencil will follow along is smooth so that the circle made is clean and crisp.
Step three: I use a black colored pencil and press firmly and steadily to make a crisp black circle. Then, I repeat this, overlapping the circles over the entire page.
Step four: Continuing with the colored pencils, choose four or five colors that will look good together. Then, fill in some of the unique spaces that were created by the overlapping circles. I myself leave a few blank here and there for effect.
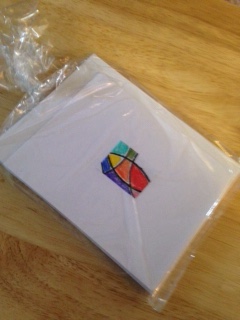
Step five: Next, I cut out small squares of what I have just colored in, much like taking a zoomed in snapshot of a bigger picture. I don’t measure each one per se, just go by what looks best. In measuring one after the fact, it measured one and on half inches x one and one third inches. Some of them I cut smaller, and more square.
Step six: Using double-sided tape, adhere the square to the center of an 8 by 5 plain index card folded in half. My orientation is interestingly enough always the long way, horizontal. Also, when folding your index card, be sure that all of the edges match up straight before you put a firm crease in it.
Optional: I pencil in on the back of the card a quick description of my method and medium.
Also, I package these in quantities of six, both cards and invitation size envelopes. Be sure to face one of the finished cards out to properly display it. Clear favor bags with ties, size 10 by 5, work really well to package the card set. The twist tie also allows the package of cards to be opened and re-closed easily. Also, using a blank label sticker, I put a little something on the back of the package. This might be a good place to write a quick message or just a simple To and From.
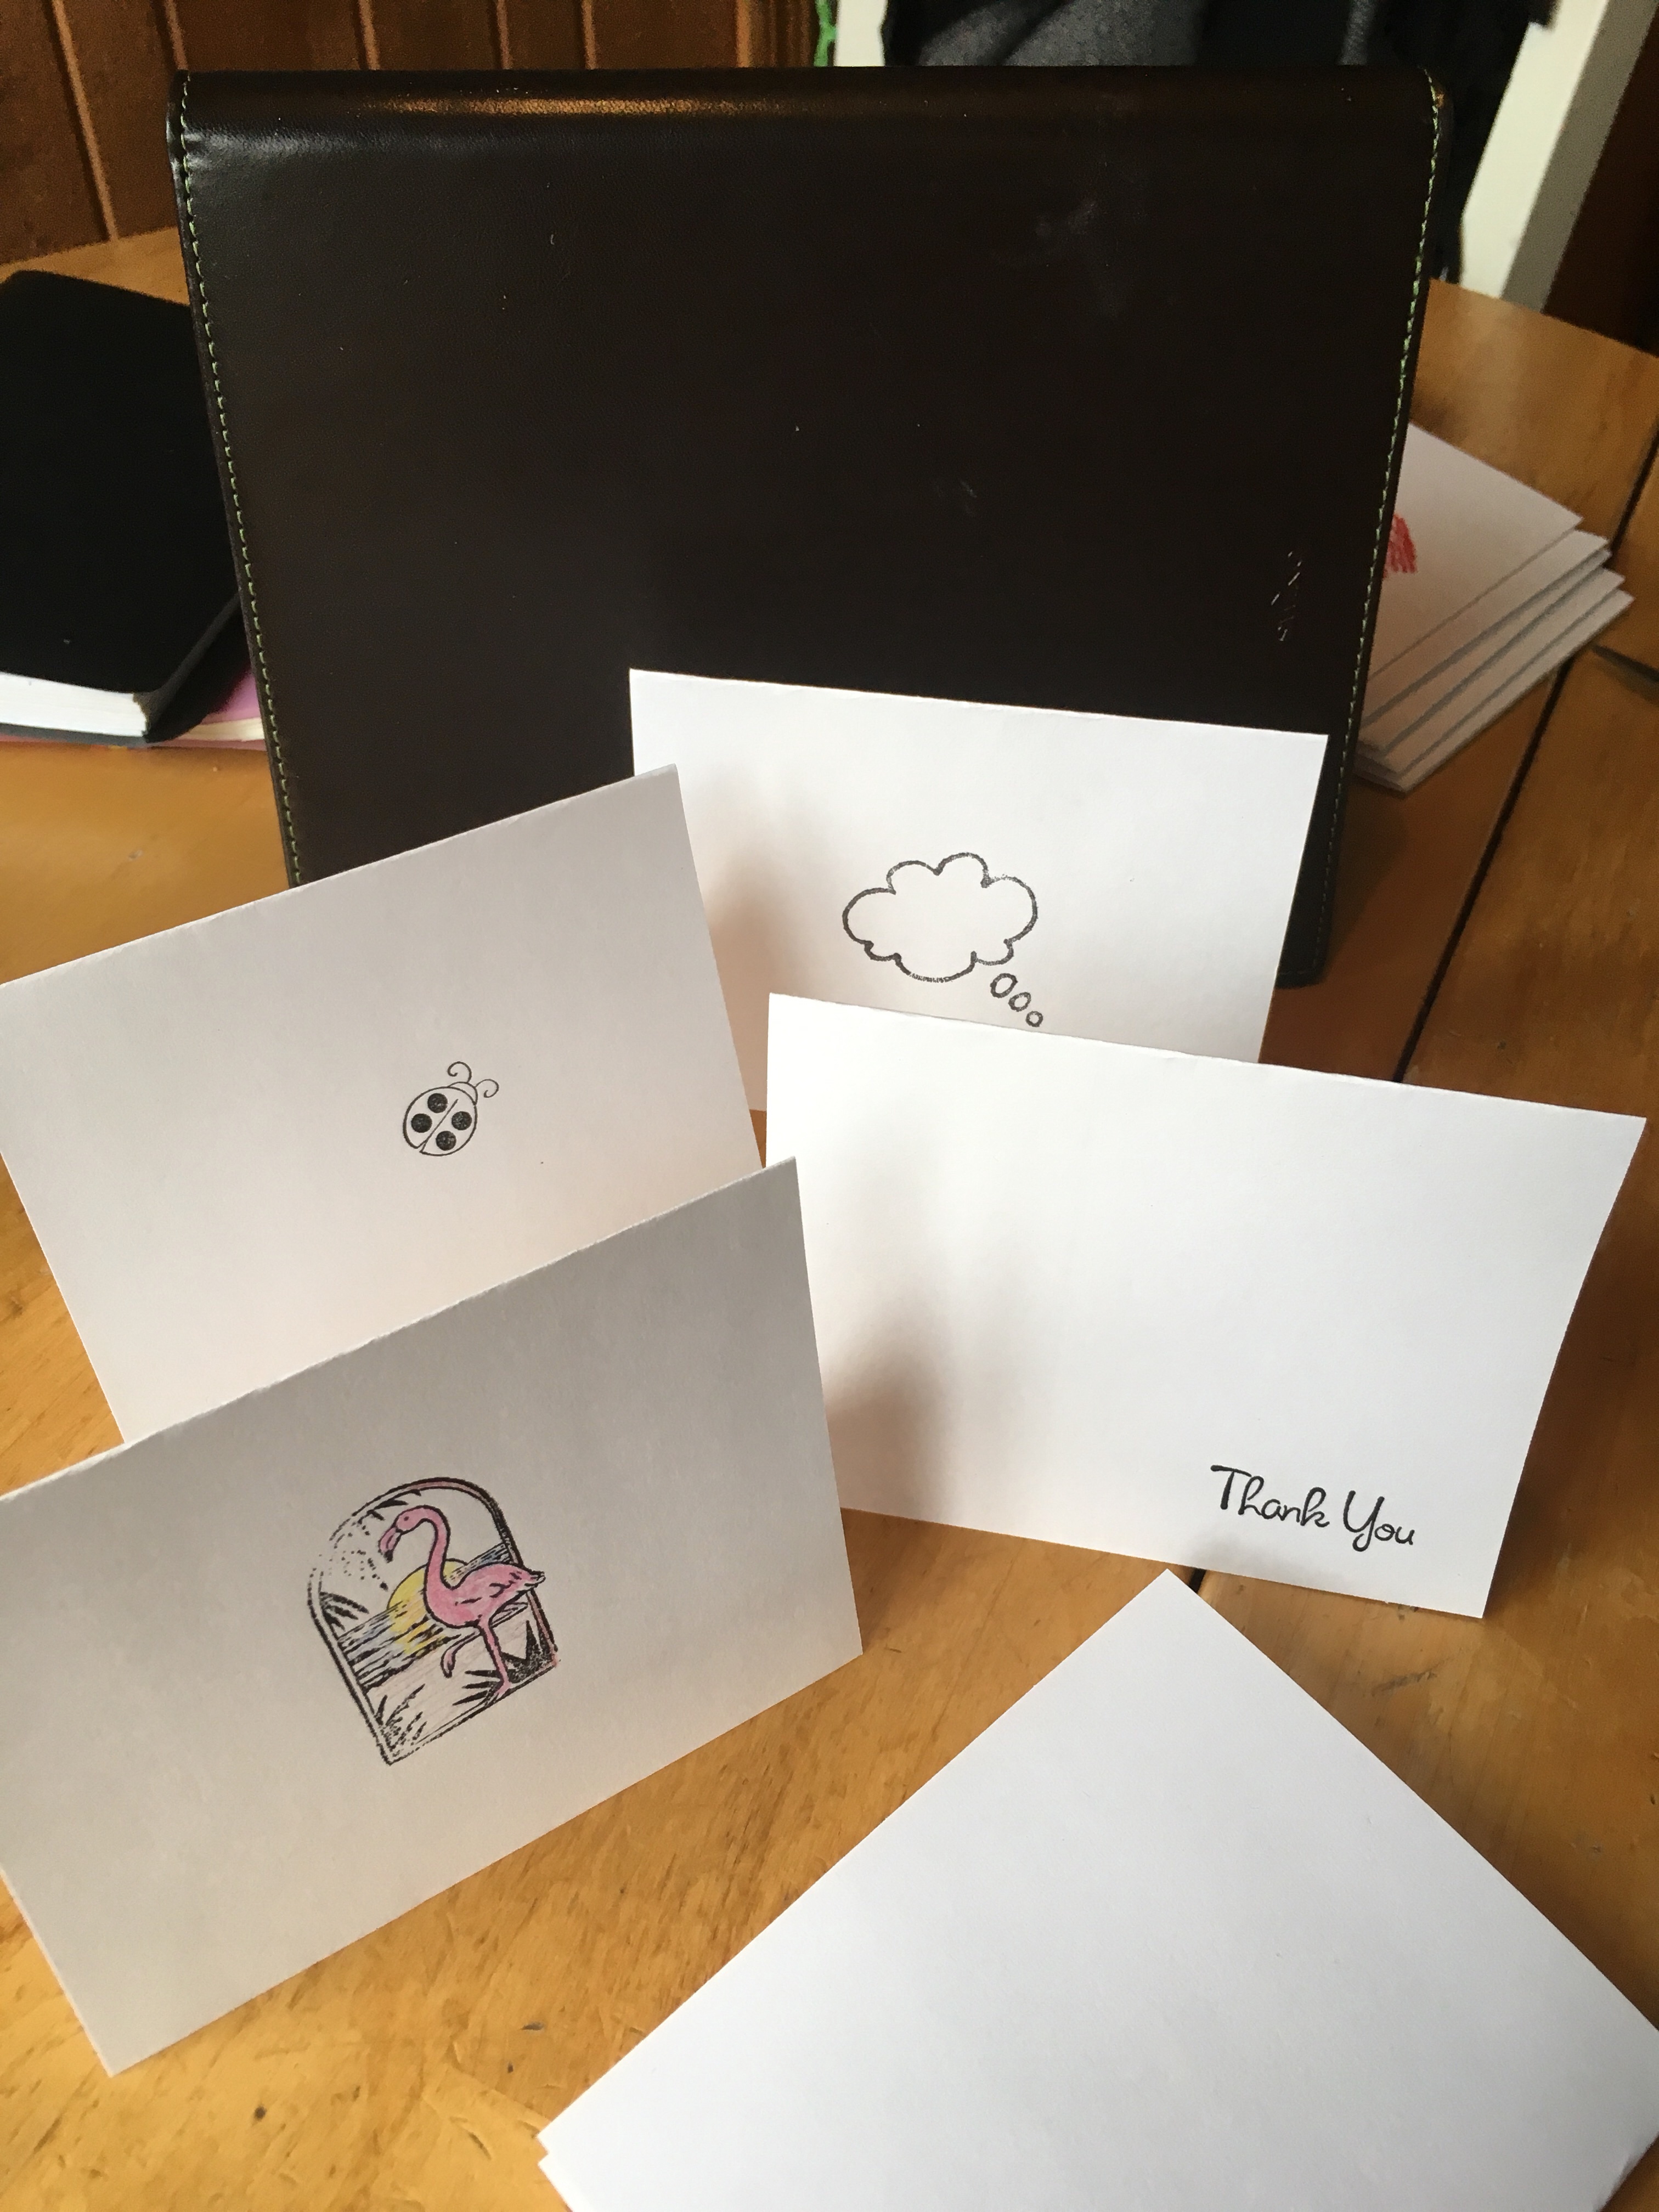
I have found a bunch of little stamps along the way that are really cute.
Check out a few of my favorites.
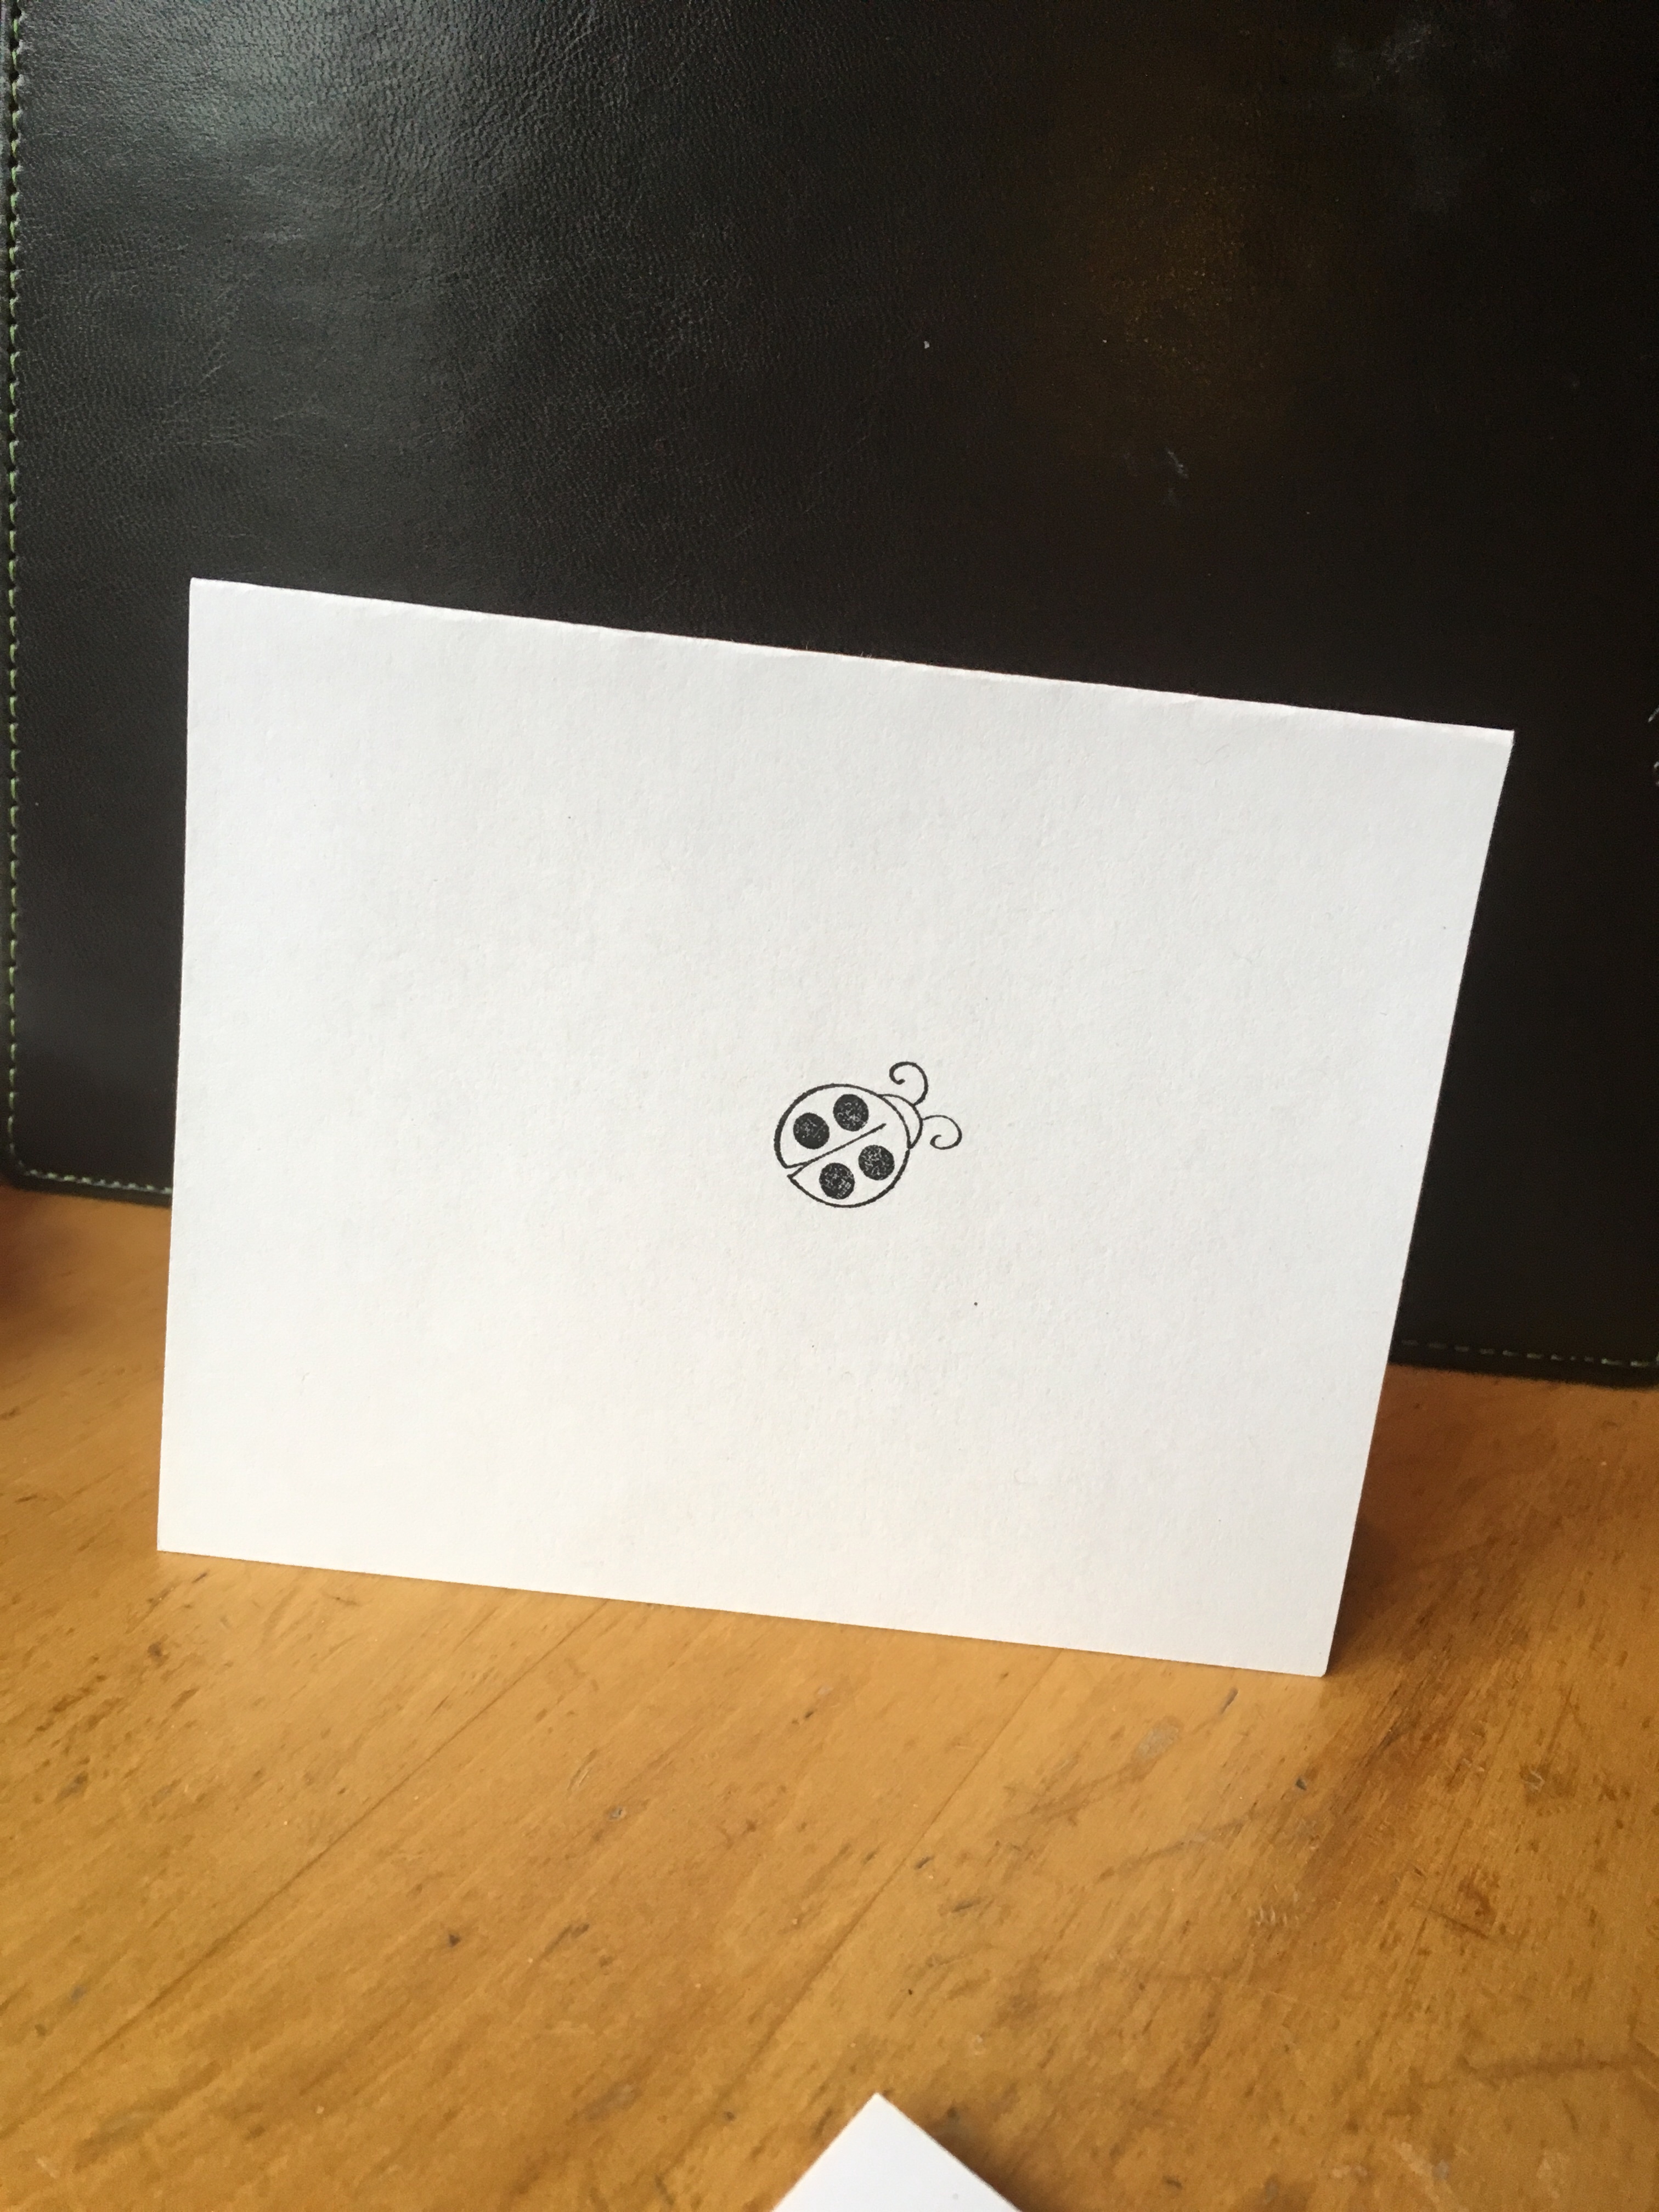
A simple ladybug brings a smile to peoples faces. I have experimented by coloring the background in red. In the end, I rather like the black and white effect.
And, the “thought cloud” is so versatile. It simply states “thinking of you”- the entire essence of a note card!
The pink flamingo stamp I enjoy because it is fun to fill in areas with colored pencils. When I found a combination of colors that I liked, I kept the pencils to the side and made a whole bunch at one time.
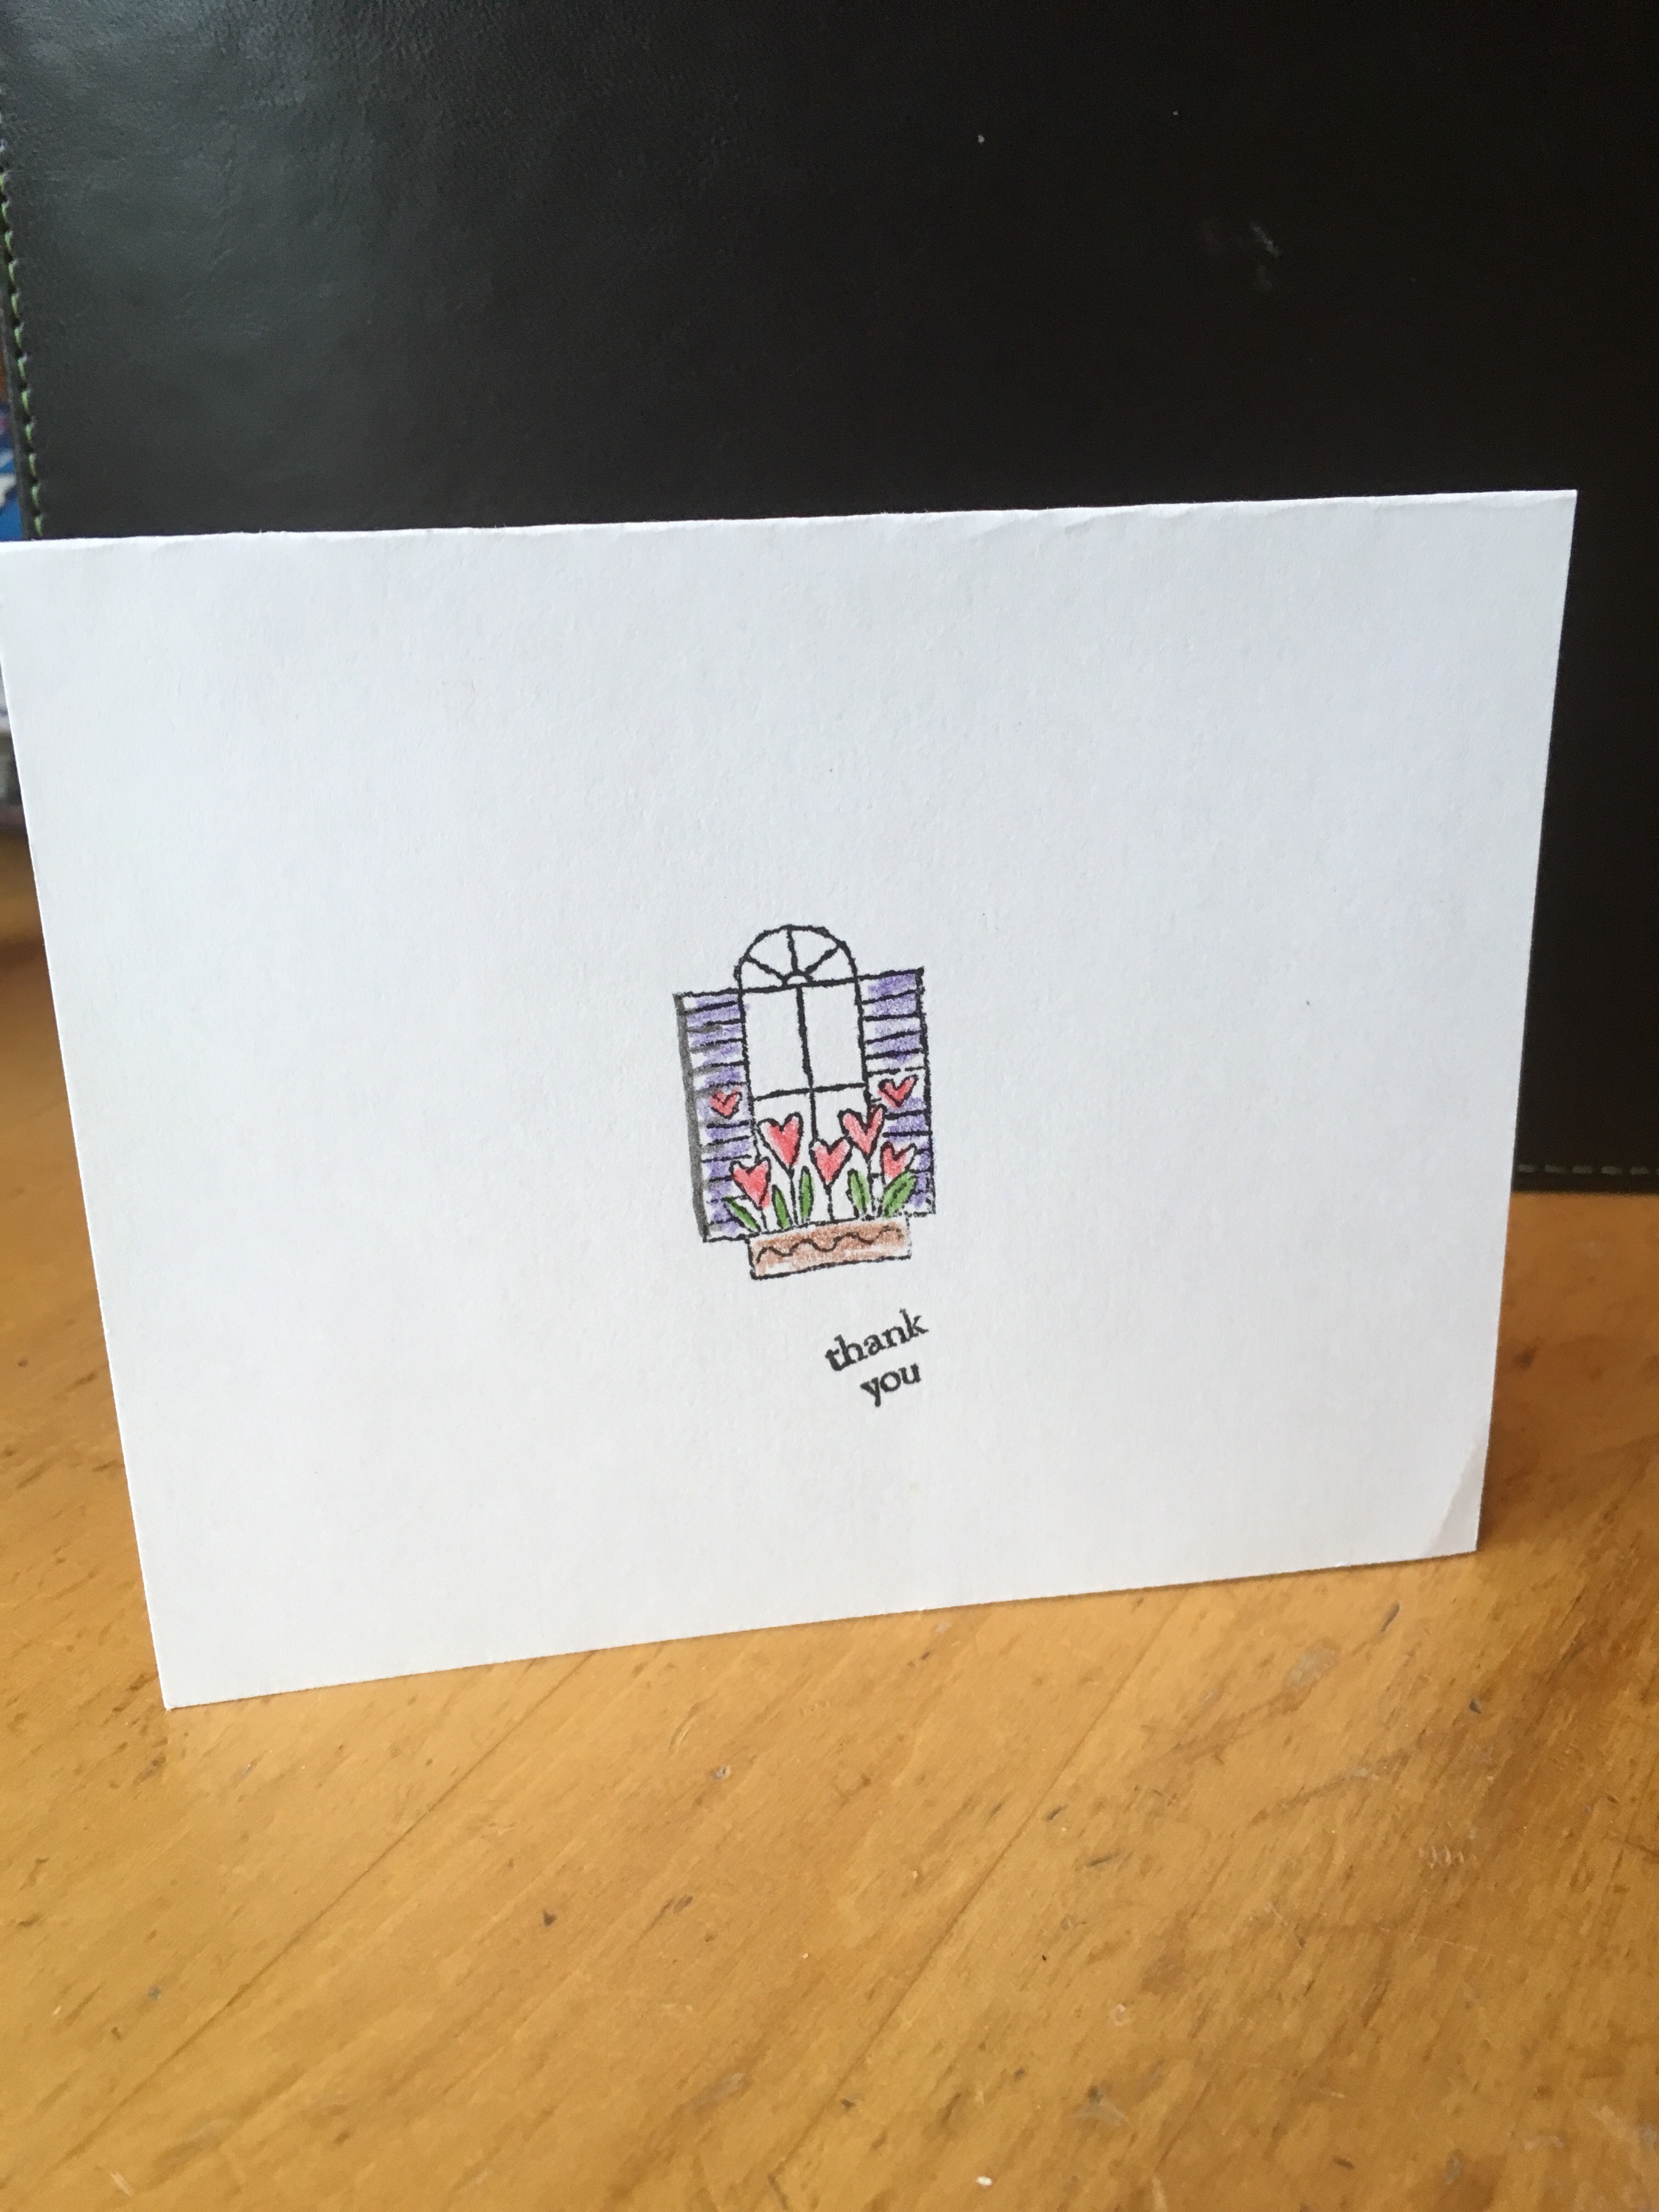
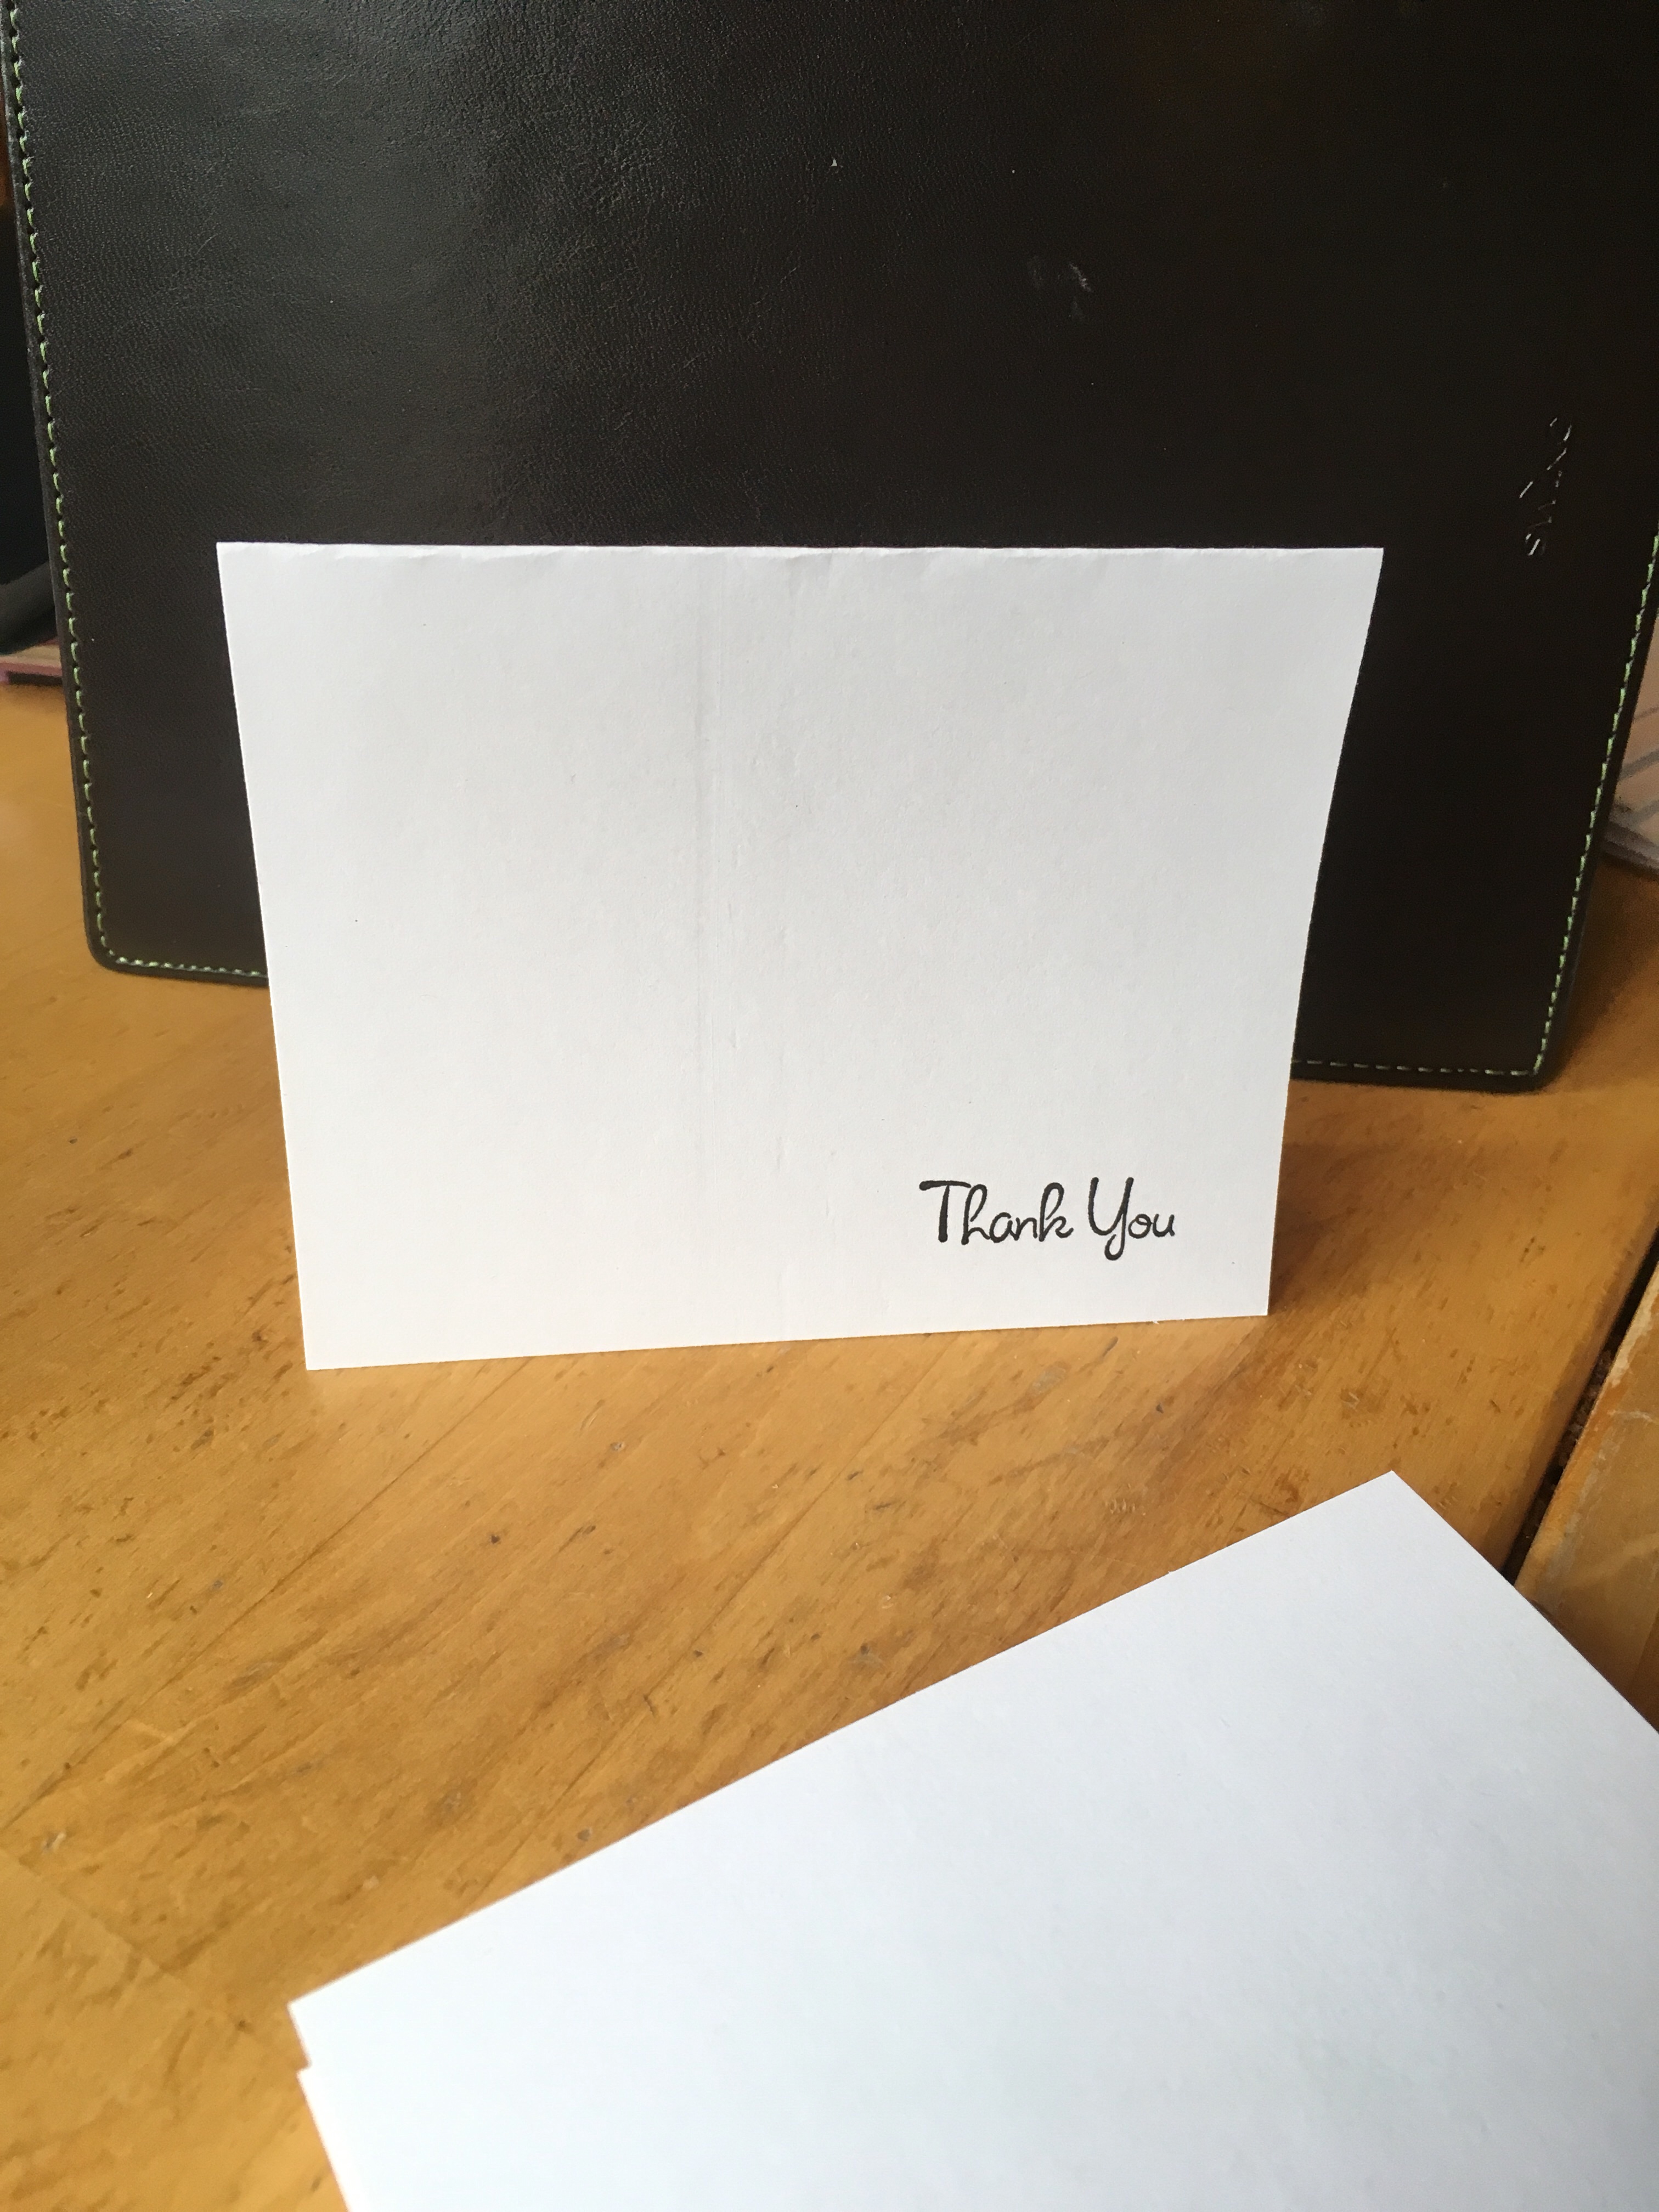
Same with the thank you window scene below. I found just the right colors and added that after the stamping had dried completely.
I found a cursive “Thank you” stamp. I experimented in different places on the note card to see where I liked the placement.
I have found almost all of my stamps at consignment shops, because I find new ones are rather pricey. I buy a big bag of stamps for cheap at the consignment shop and carefully go through the bag. Often, there are only one or two that I want. So, I neatly put the rest of the stamps back in the package, staple it up, and donate it back to the very Goodwill I initially purchased it from. If I find two or three stamps that I like, it is still a smashing good deal!
I stamp on my usual 8 x 5 unlined index cards folded in half.
Remember when stamping, even pressure over the entire stamp is essential. I keep white paper to the side to do a first stamp after inking the stamp pad to facilitate an evenly inked stamp.
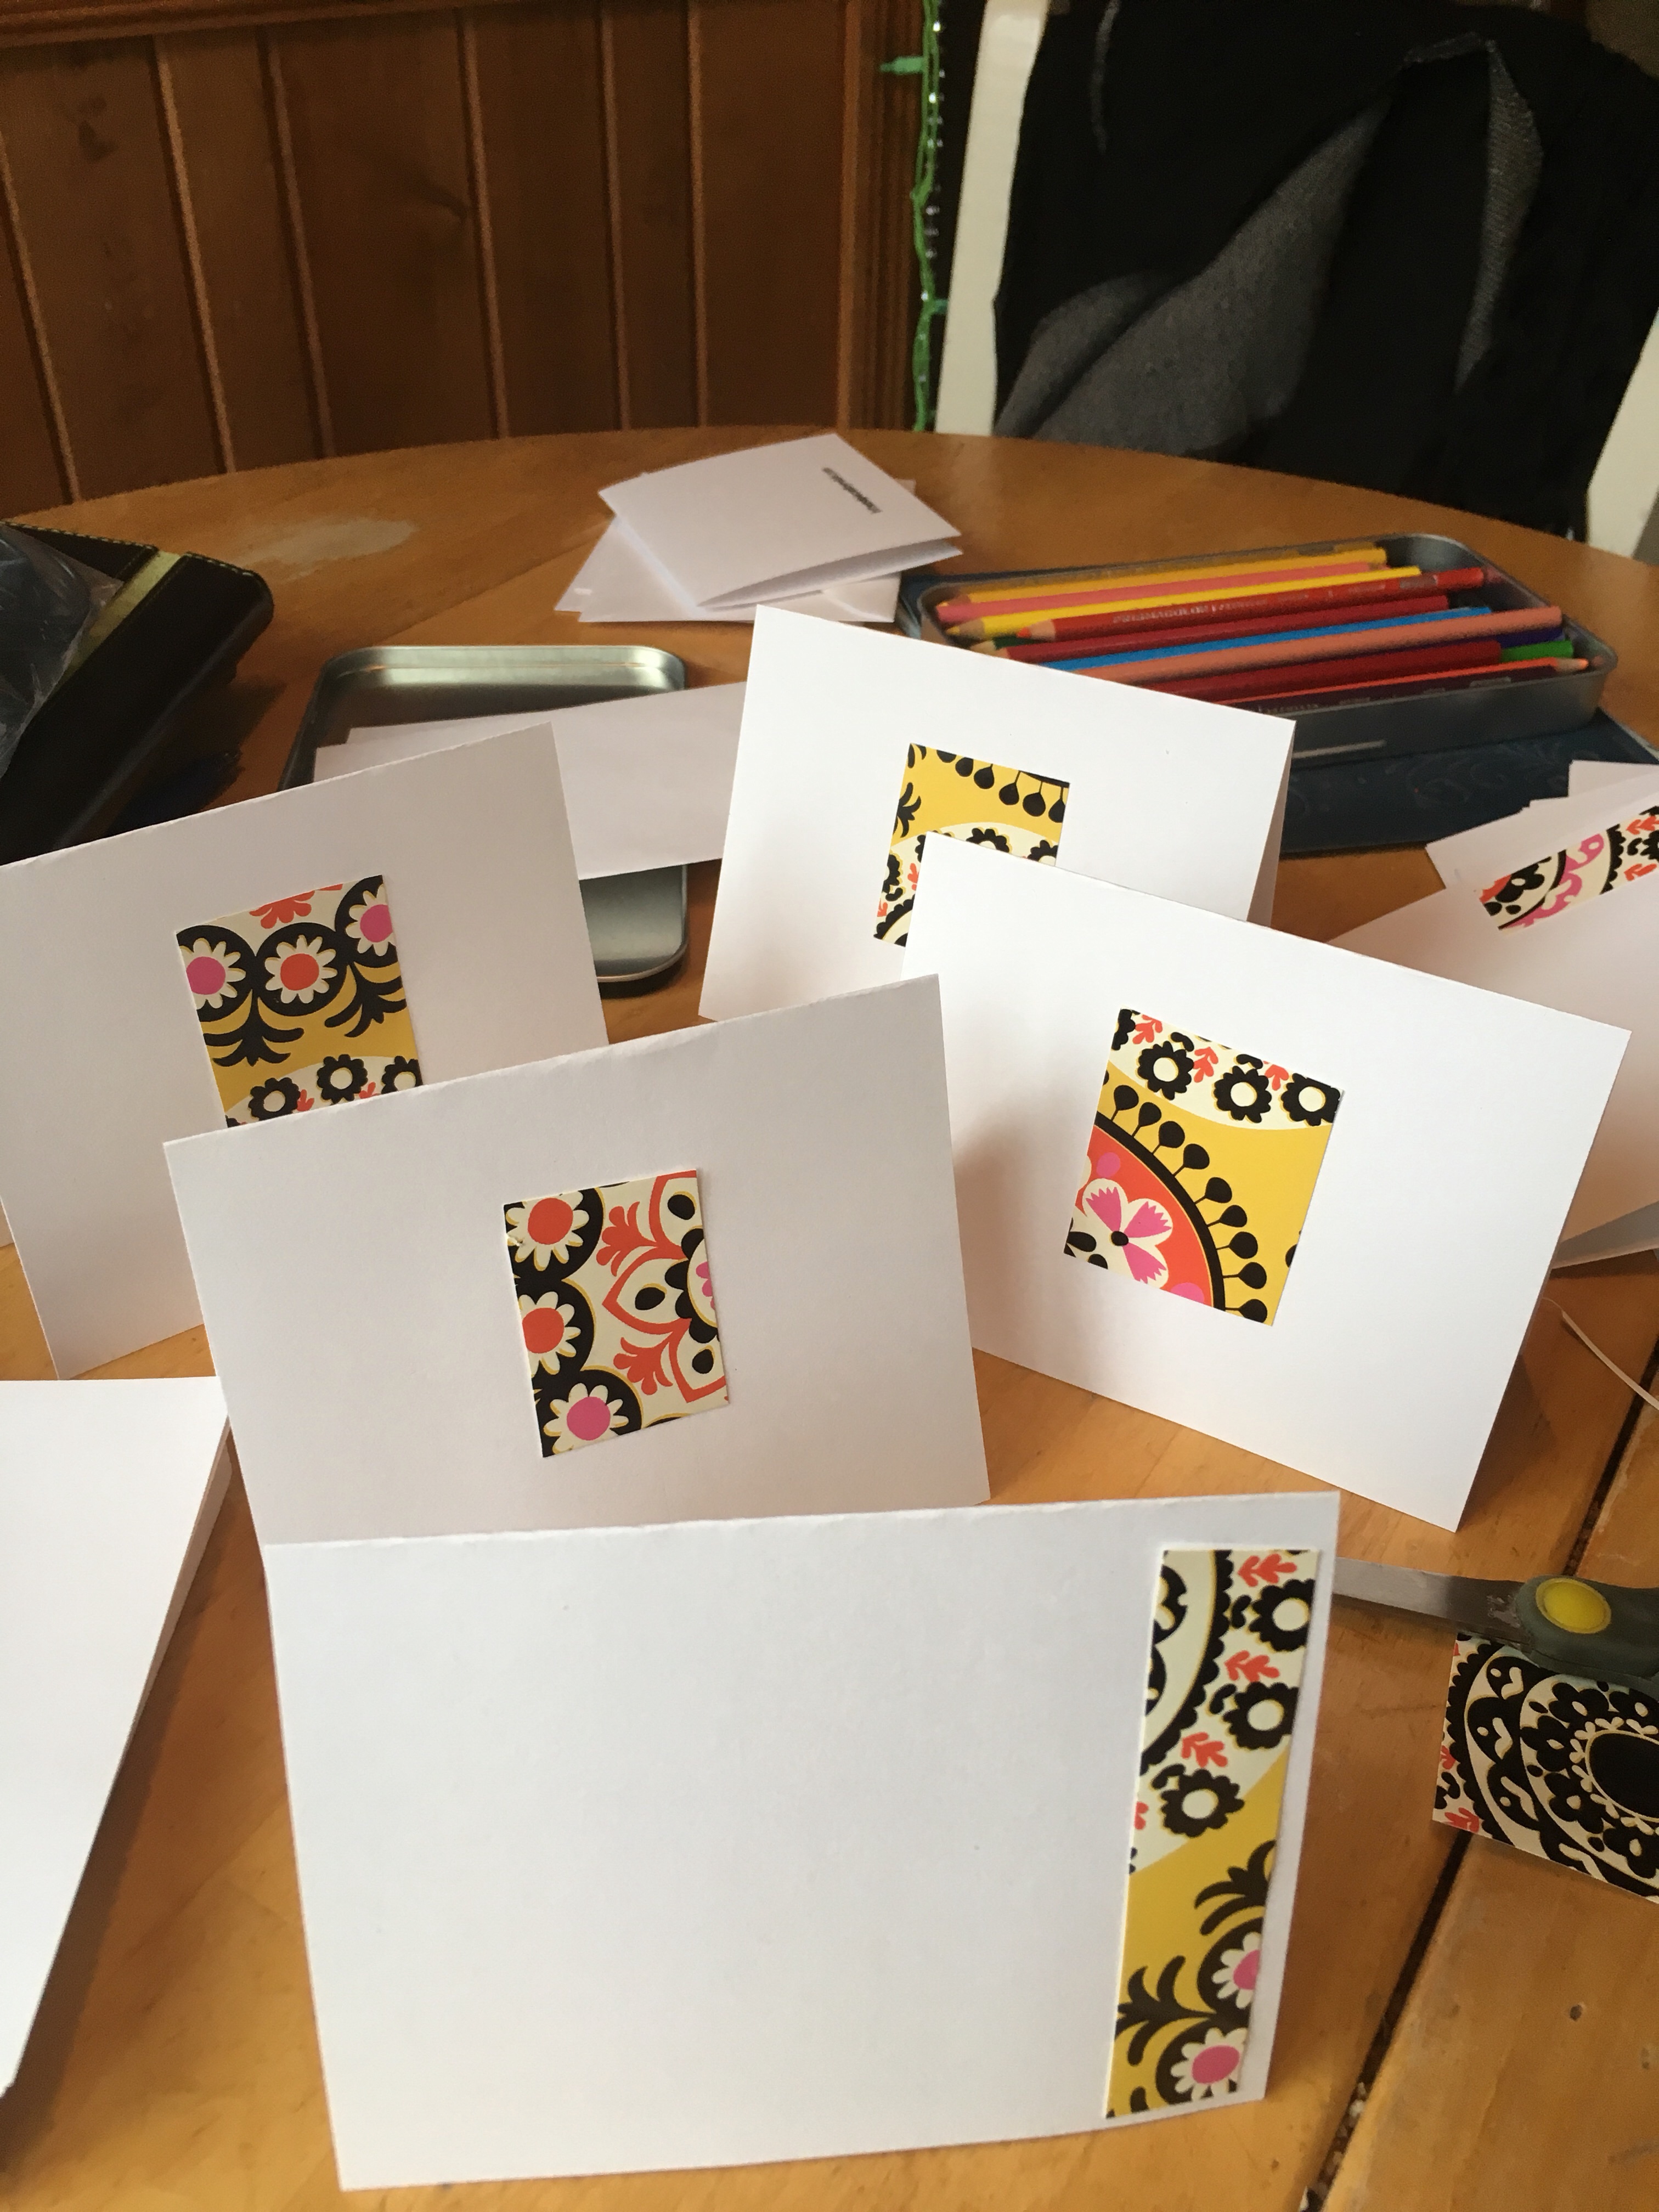
I started by finding a piece of paper that I really liked the colors and design of. There are so many places to get this; wrapping paper, craft paper, lighter weight gift boxes- you name it. Find a design you like and go for it.
Then, I cut it into squares and rectangles, freehand, and centered each of the shapes in the middle of the index card (8 x 5 unlined folded in half).
I use double-sided tape to adhere the paper onto the notecards. It holds very well, and is very quick. I don’t have to finagle a glue gun or wait for regular glue to dry. Also, it gives it a clean look; no lumps or bumps or wavy paper that sometimes happens when glue is used.
I typically package six notecards and corresponding invitation envelopes to be included in a gift basket or gift bag.
Done on 8 x 5 unlined index cards folded in half (use a pencil on it’s side to go over the crease to make it crisp)
I fold the card before I do the rubbing to plan for space so I know exactly where the front of the card will actually be.
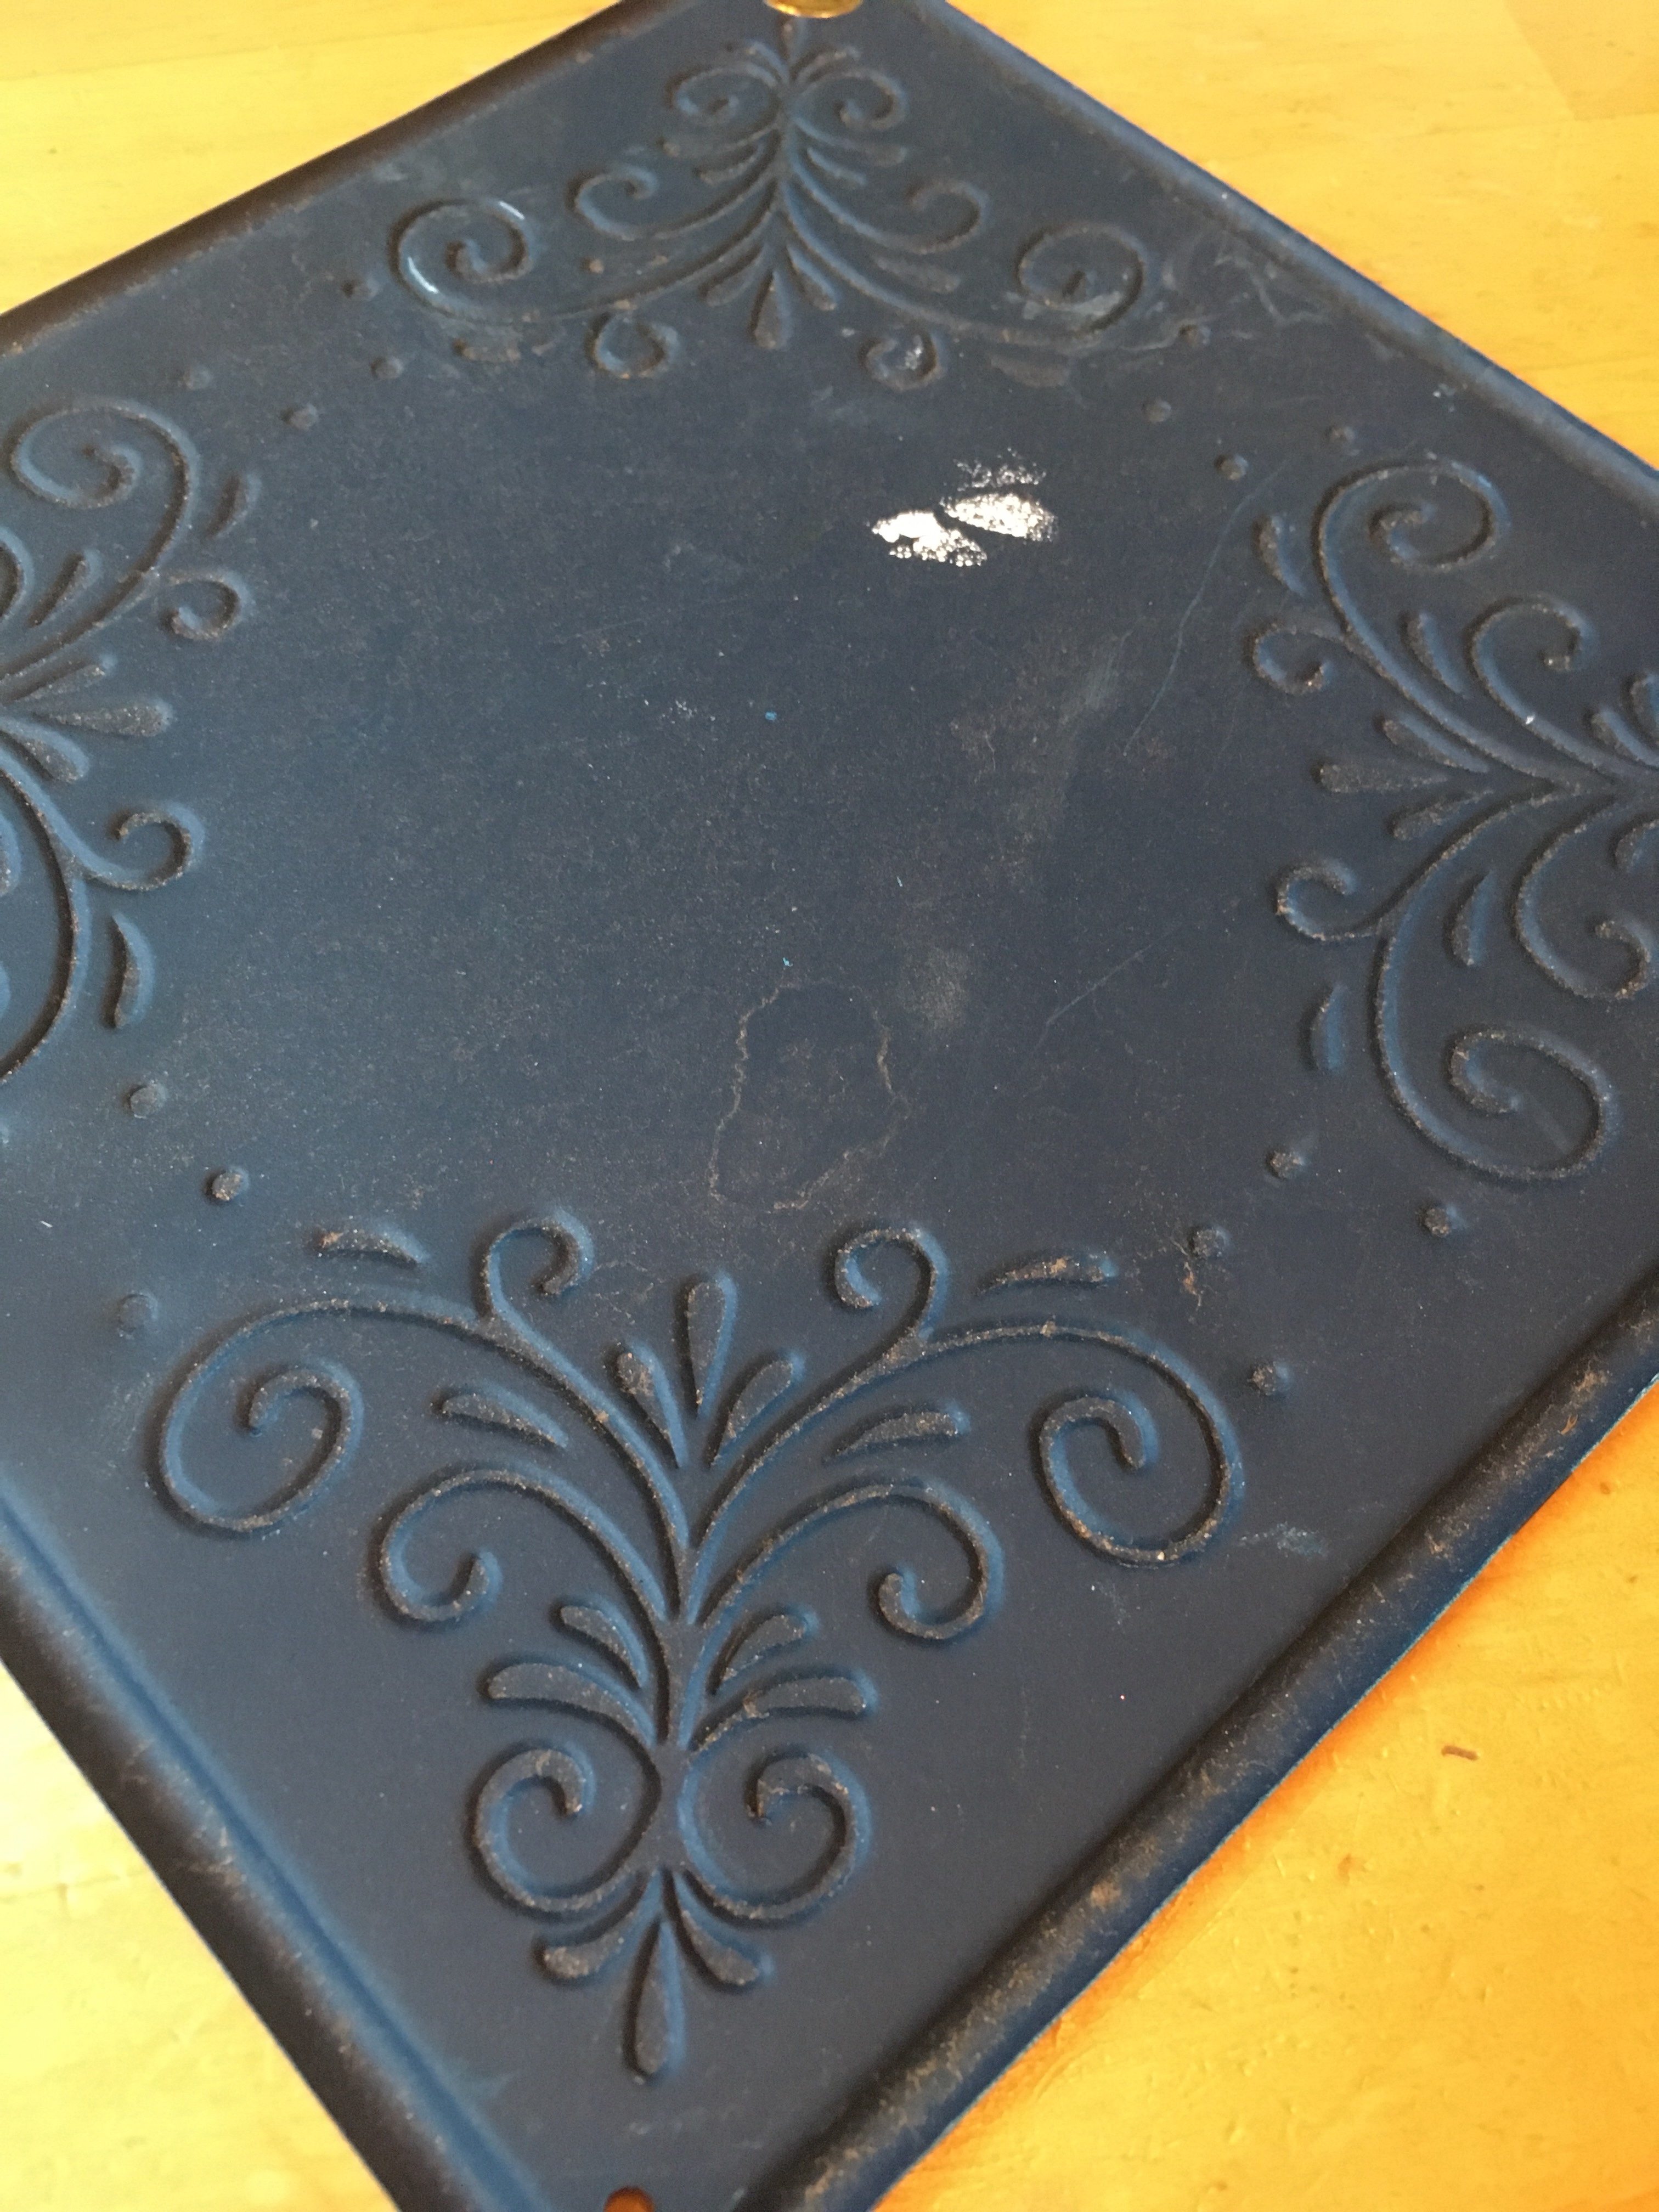
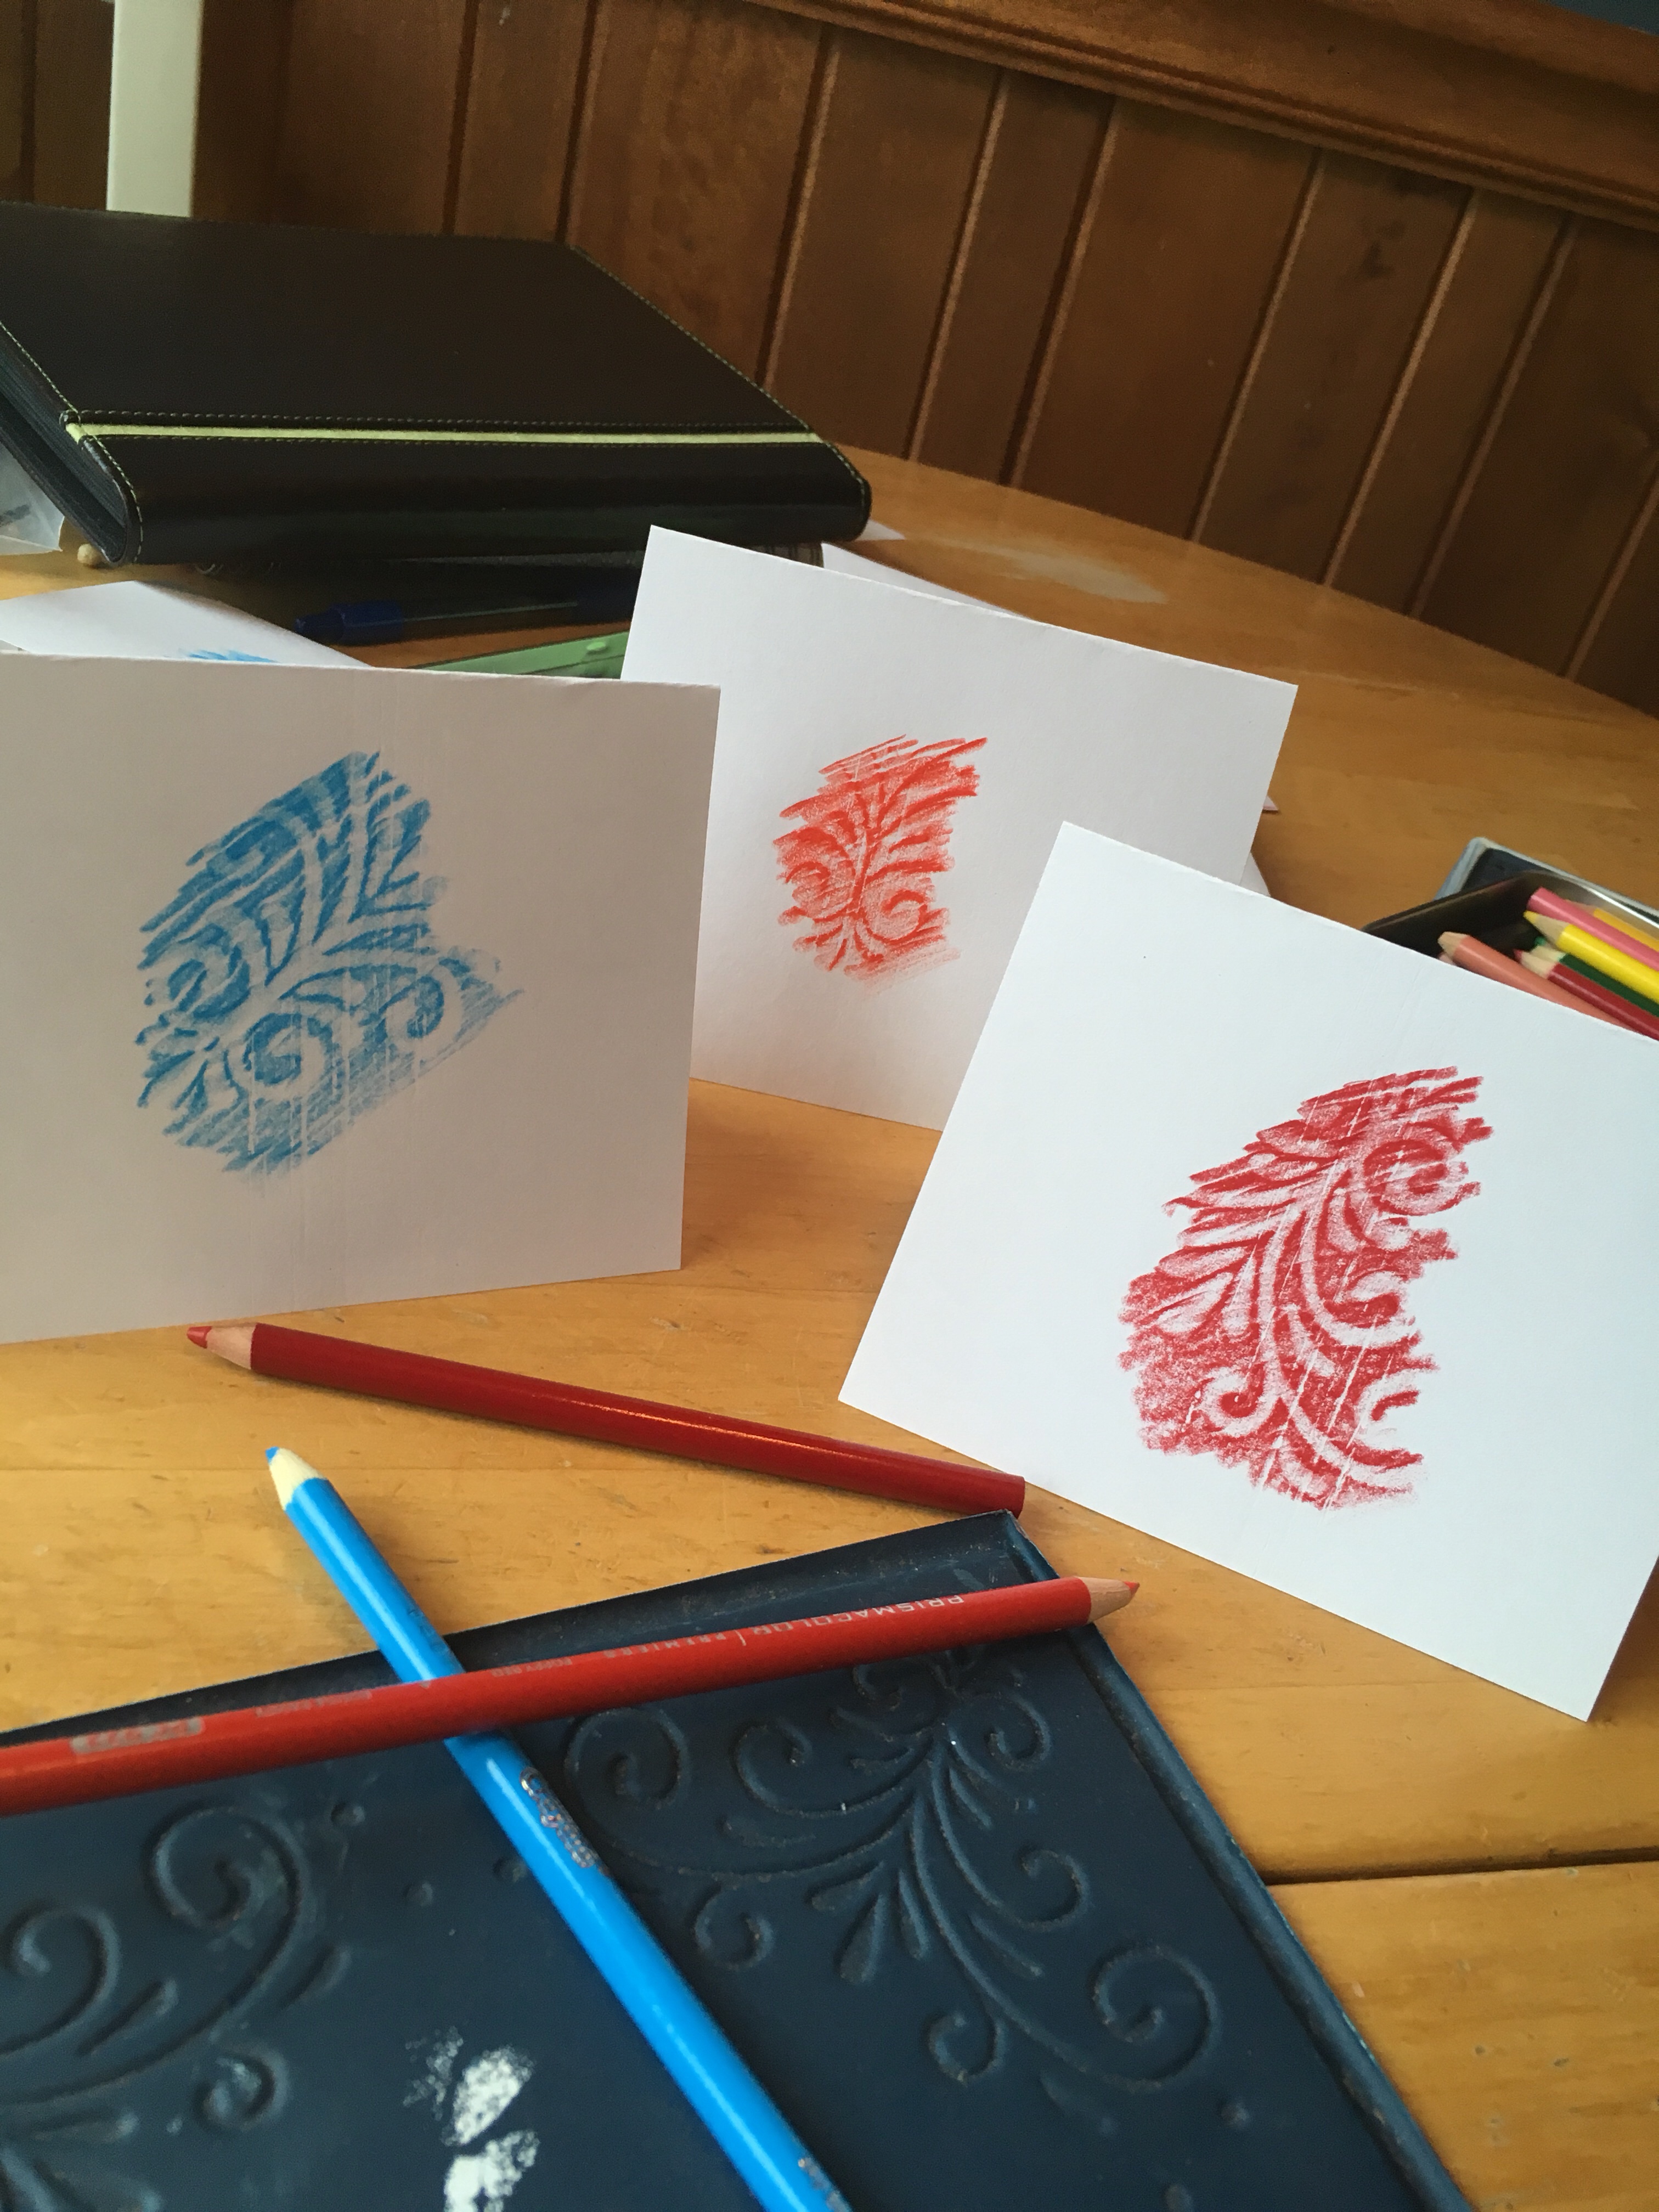
I found this metal Christmas decoration at the consignment shop. I actually bought it because of the raised scroll-work.
Practice off to the side to figure out which part of the scrollwork you like and how it turns out as you do the rubbing. Also, rubbing the back gives it a bit of a different look.
Rubbings with colored pencil work best if the pencil is sharpened but not the “first use” of the freshly sharpened pencil. Dull it a little bit on another piece of paper, and be sure to hold the pencil more sideways than straight up and down as you go over the item you are rubbing over.
I usually pack six cards and corresponding invitation envelopes in a package as part of a gift basket or gift bag.
This note card is quick and easy. I like its simplicity- just an exclamation mark, nothing more.
I used 8 x 5 unlined index cards folded in half.
I used a stencil of an exclamation mark. It was a small metal one that I found at the thrift shop. The metal helped the finished exclamation mark to have very clean edges. I also used a blue gel pen .07 mm and I think that gave the exclamation mark just the emphasis it deserves. Just make sure it dries well before you go near it to avoid smudges.
I had to play around a bit to find the center of the card. This is trial and error. My trial was marking the center of the stencil with a pencil very lightly and moving the stencil to see if it centered before spending much time filling in the stencil neatly and carefully.
This is quick and easy but I found that it did take patience and care. Not as simple and flexible as some other note cards I have made.
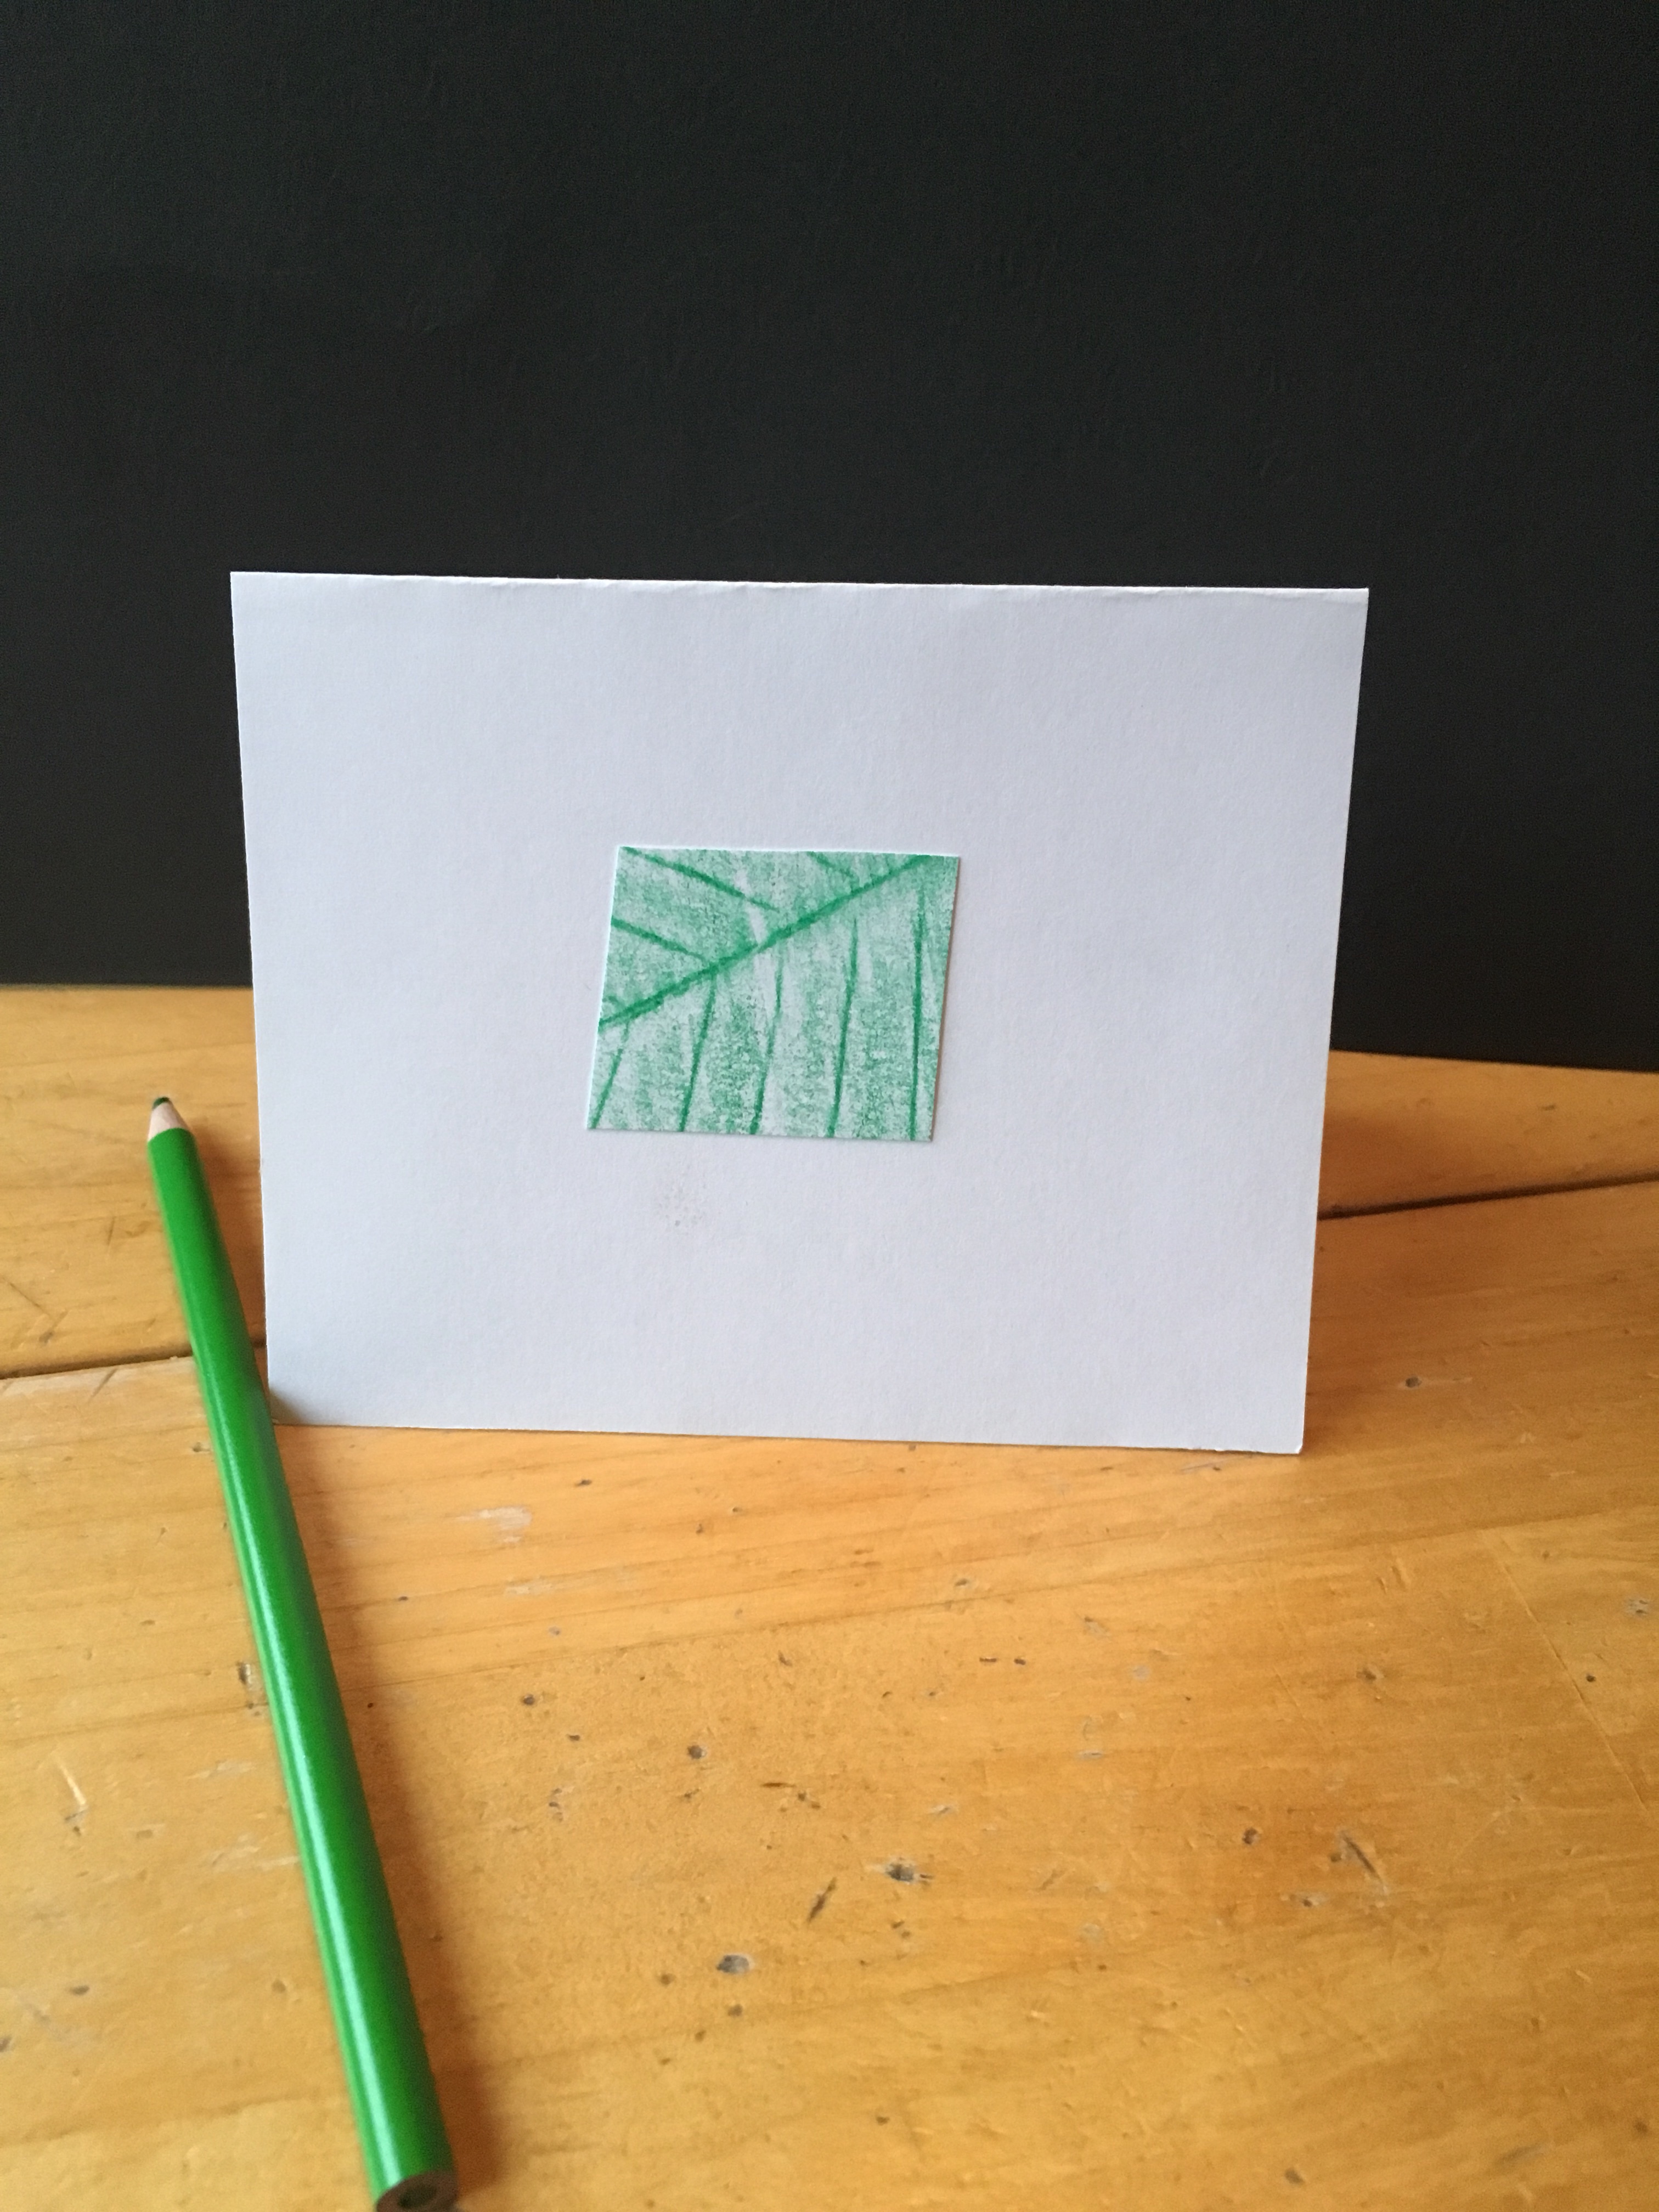
This uses 5 x 8 unlined note cards folded in half.
Start by finding a sturdy leaf.
Use a sharpened color pencil slightly on its side (practice rubbing parts of the leaf to achieve the effect you are trying to get).
Try different leaves and different color pencils.
I particularly like doing the rubbing up the center of the leaf. You can figure out what looks good to you.
You can also cut part of the leaf rubbing out and adhere it to the note card ( I use double-sided tape).
This achieves a different look. I also write a brief description in pencil on the back of the card reflecting my method, such as ‘relief rubbing of chestnut leaf with colored pencil’. It adds to the card’s character, and also provides the information.


 Done on 8 x 5 unlined index cards folded in half (use a pencil on it’s side to go over the crease to make it crisp)