I have been taking pictures of all kinds of things for years. People have asked why I take so many pictures of inanimate objects. Different things have always caught my eye. And, with easy access to a camera within my cell phone, I have plenty of access and opportunity.
So, I decided to make my own note cards using these printed out pictures.
Supplies:
White card stock 8.5 by 11
White Invitation Envelopes
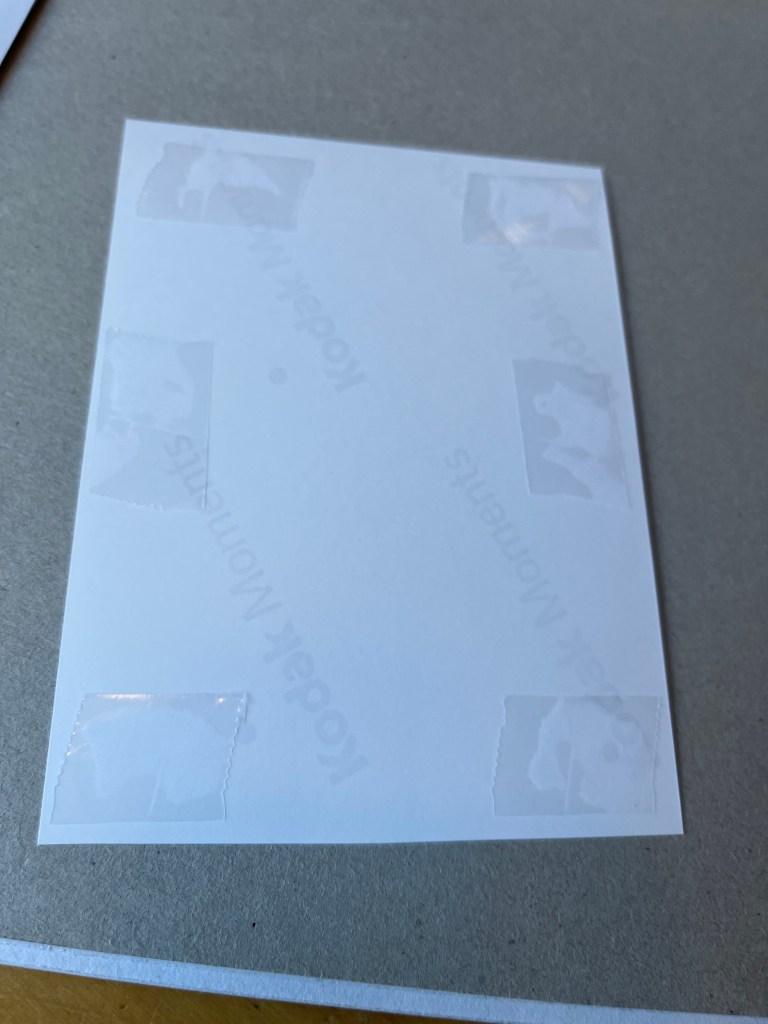
Double sided tape
Mechanical pencil
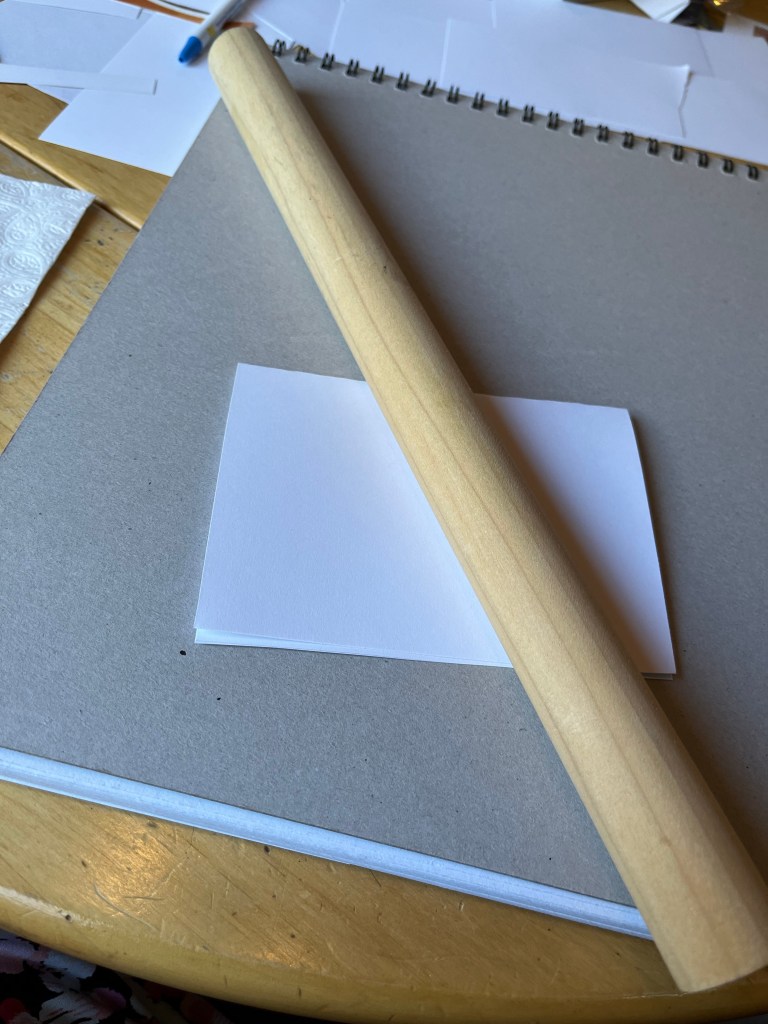
Rolling Pin
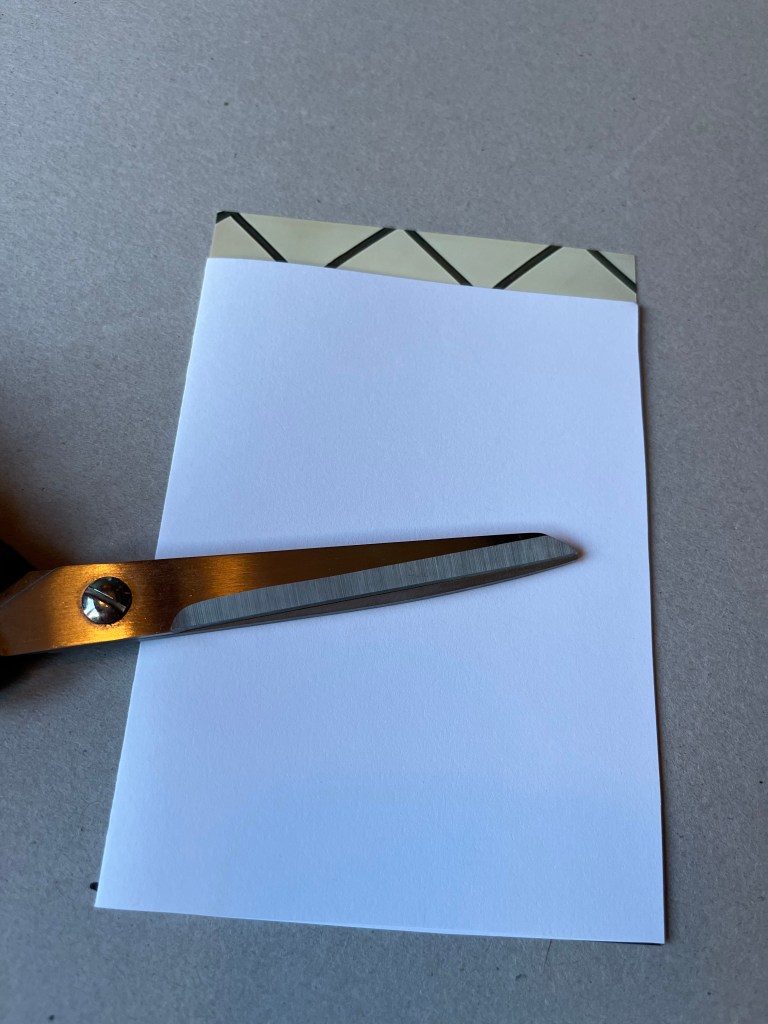
Large sharp scissors
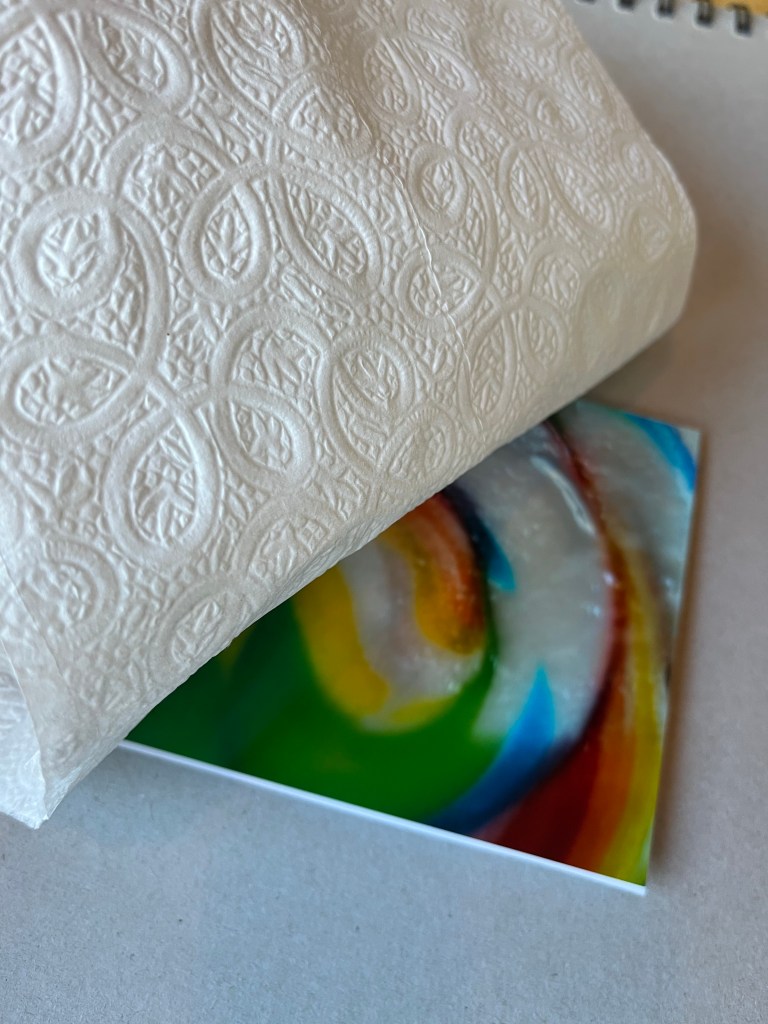
Napkins
Unique pictures 4×6 glossy finish
Step One- Develop your template for the card. I used regular paper initially to get just the right size for the card folded to fit into the invitation envelope. Then make the template on the card stock.
Step Two- Using a mechanical pencil (gets very close to edge), trace each card using the template. You can get 2 cards for each 8.5 by 11 card stock sheet if you orient the paper landscape and trace template portrait side by side. ( I initially did it the other way and only got one card out of each 8 1/2 x 11).
Step Three- Carefully cut on the pencil lines. I use a big pair of scissors and do long cuts versus multiple little cuts. The long cuts with sharp scissors create a straight edge.
Step Four- Crease the card in the center. I use a rolling pin to to slide across the fold, both back and front, to create a crisp crease.
Step Five- Chose your picture. My 4×6 pictures are just a little to big for the front of the card. So, I need to cut off about 1/2 inch from the short edge of the picture. I use the folded note card against the picture to see which side is best to cut off. I cut off only one side of the picture as opposed to doing two smaller cuts from each side just to keep the picture as straight as possible. I use the folded card against the back of the picture and use mechanical pencil (gets close to the edge) to draw the line of where to cut off. Then use large sharp scissors to cut on the pencil line on the back of the picture.
Step 6- Use double sided tape on the back of the picture. I use six pieces placed on the outside edge but not right up against the outside edge. Because the picture is the exact same size of the front of the card, I don’t want any sticky residue from the double-sided tape creeping outside of the back.
Carefully line up the picture with the front of the card. This can be tricky, because you kind of have to hover the picture above the card until it is perfectly lined up, and then drop the picture down on the front of the card. Once it’s down it can’t come back up. I push the picture down with a napkin over it to keep my fingerprints off the glossy finish. Then I use the rolling pin over the napkin to ensure the picture is pressed firmly to the card.
I love how these cards turned out.

I often enjoy looking at my collection of pictures in my phone, and now I have another creative use for them. I send them out. I also packaged them (four cards and four invitation envelopes to a package). I cut the top off a ziplock bag and this creates a perfect sized package for them. I use a name label to seal the package closed. This label allows the package to be resealed.


